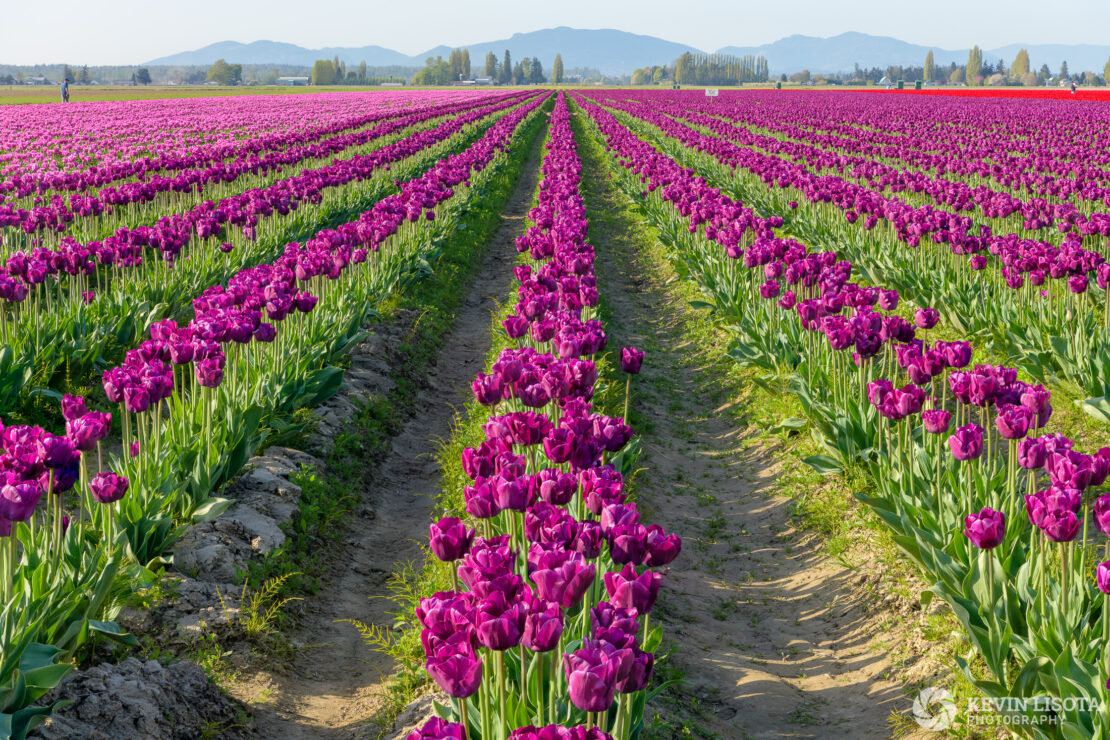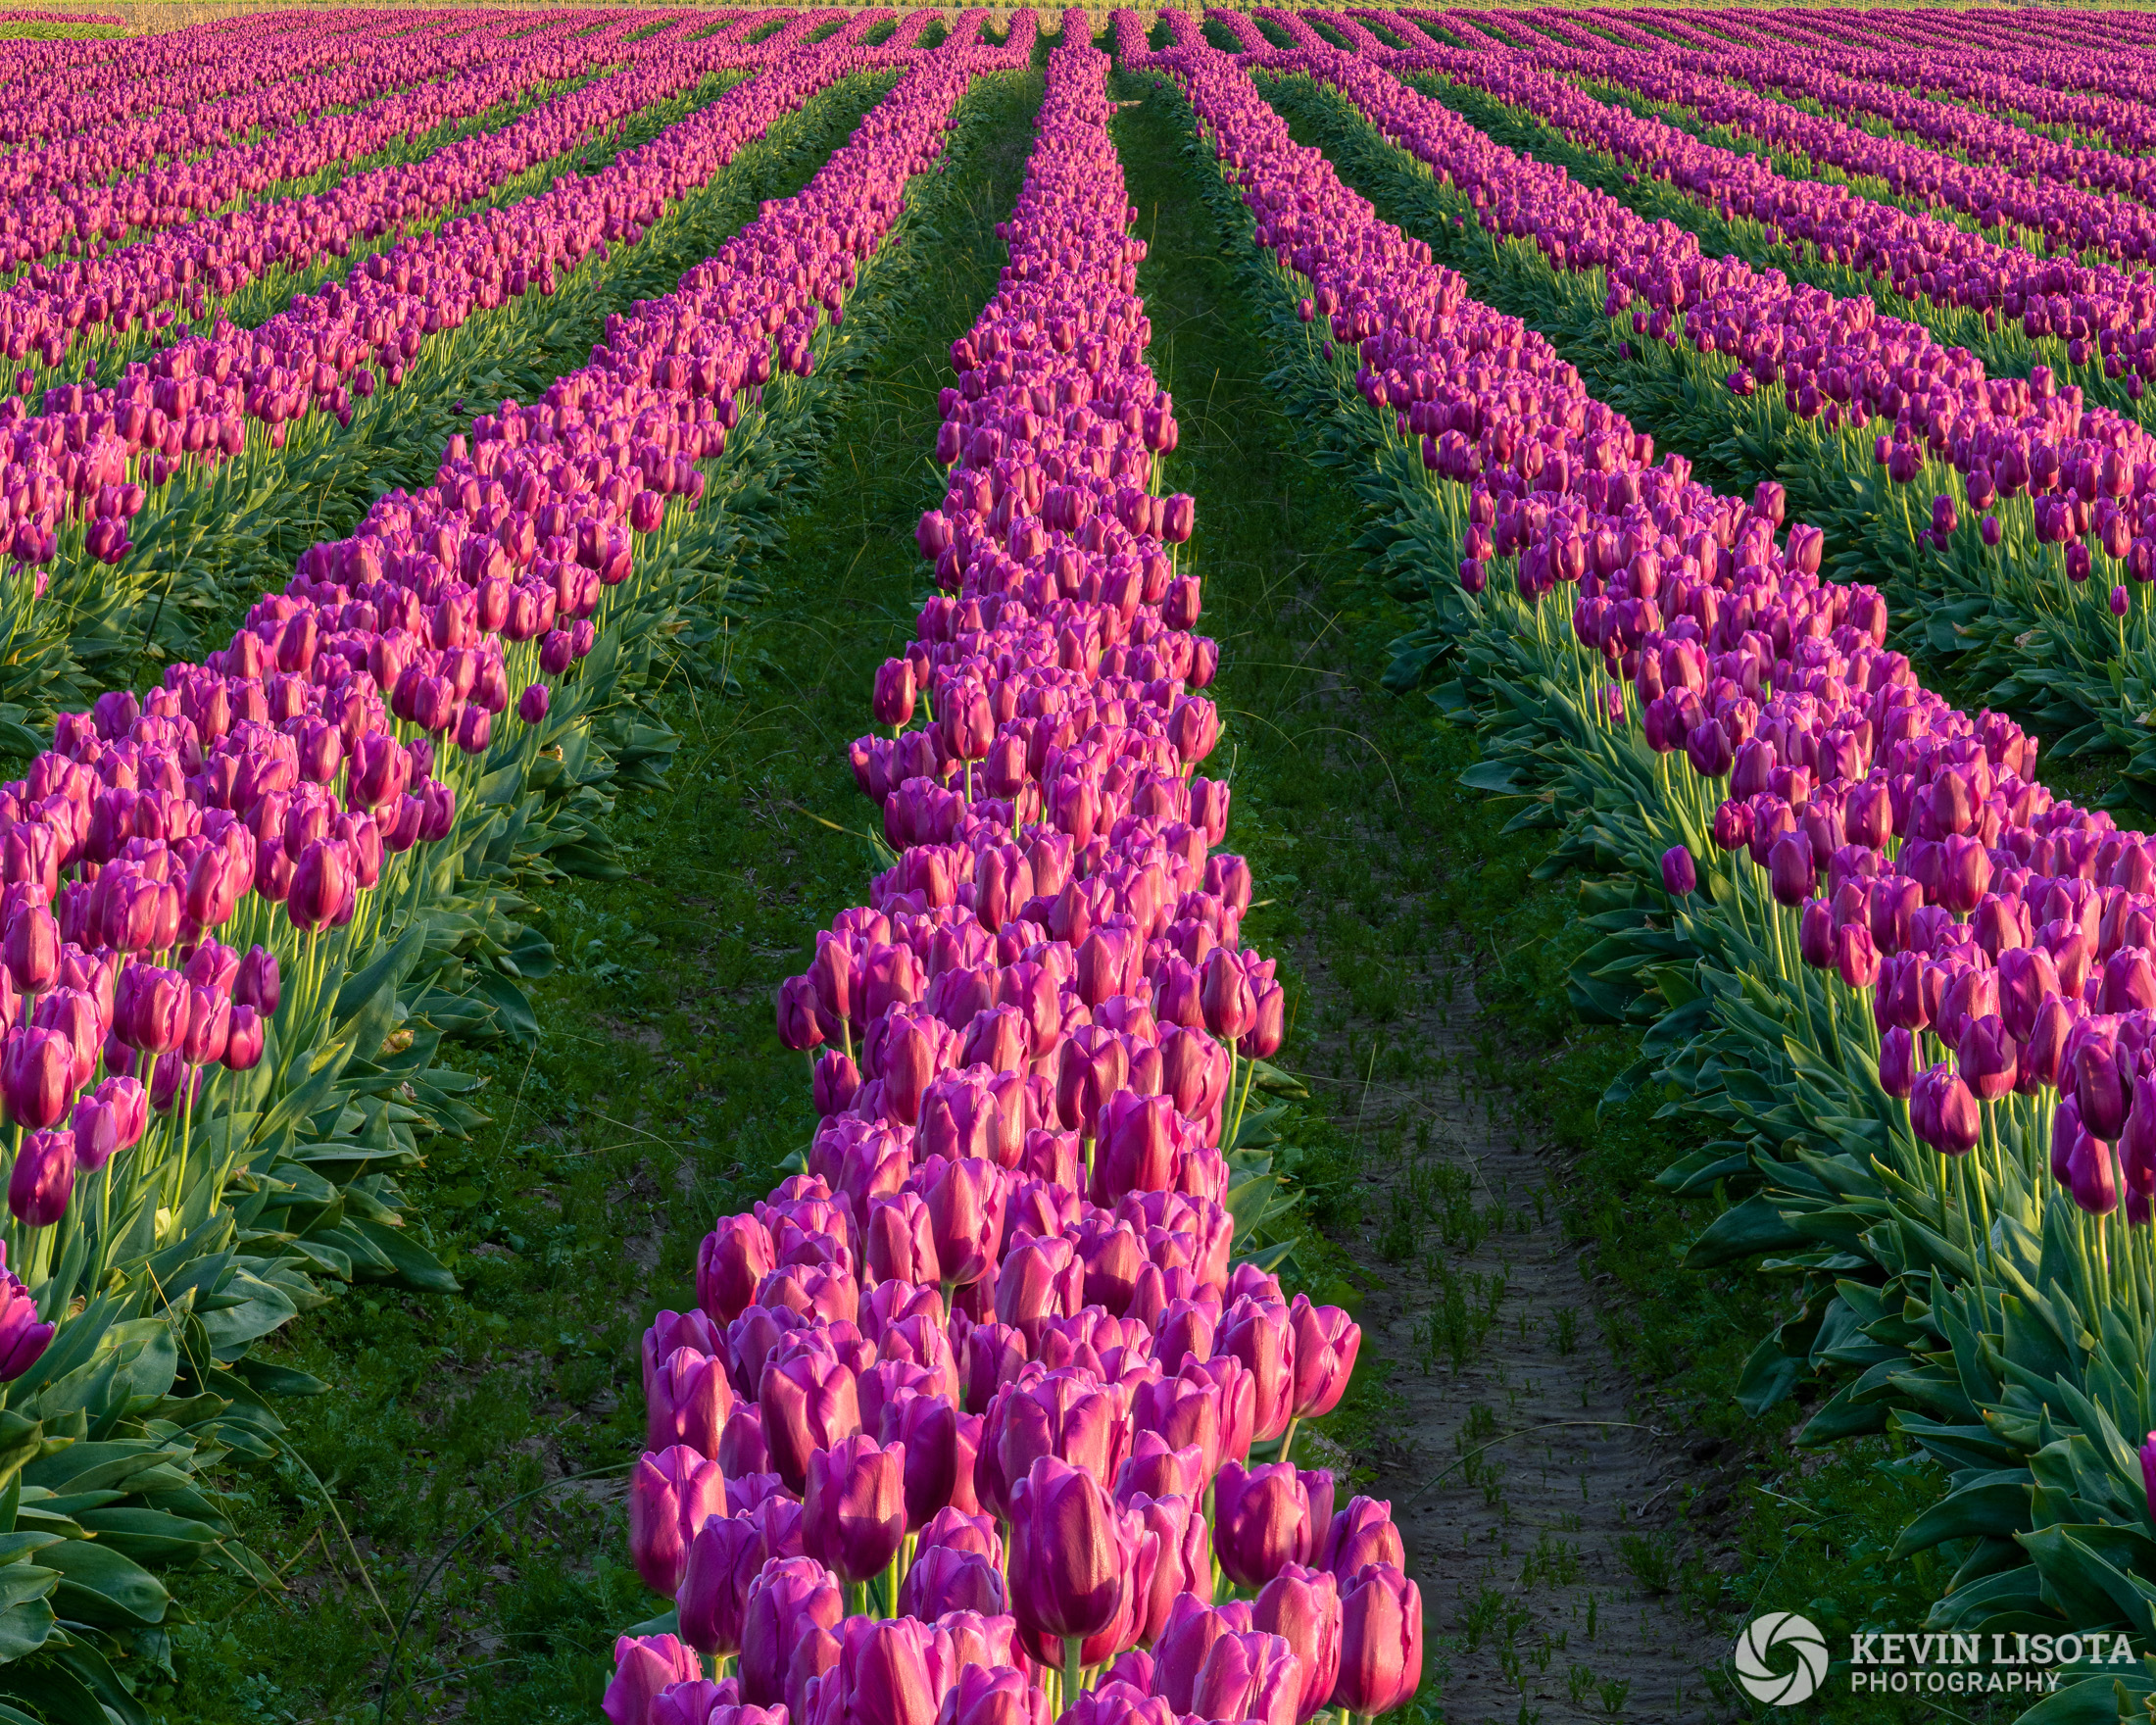
What is focus stacking, and why is it needed?
There are specific scenes, like long rows of flowers, where you might want a photograph that is in focus from the immediate foreground to the distant horizon. When faced with a scene like this with considerable depth of field, camera lenses, even at tiny apertures like f/16, f/22, or f/32, with the optimal hyperfocal point set, cannot capture the entire scene in focus. Unfortunately, these small apertures also introduce diffraction, decreasing the final image’s sharpness.
However, there’s a technique that can overcome these challenges and maintain optimal focus and sharpness. It’s called focus stacking. This technique involves taking a series of photos focused on varying parts of the scene and then combining them into one image that is entirely in focus.
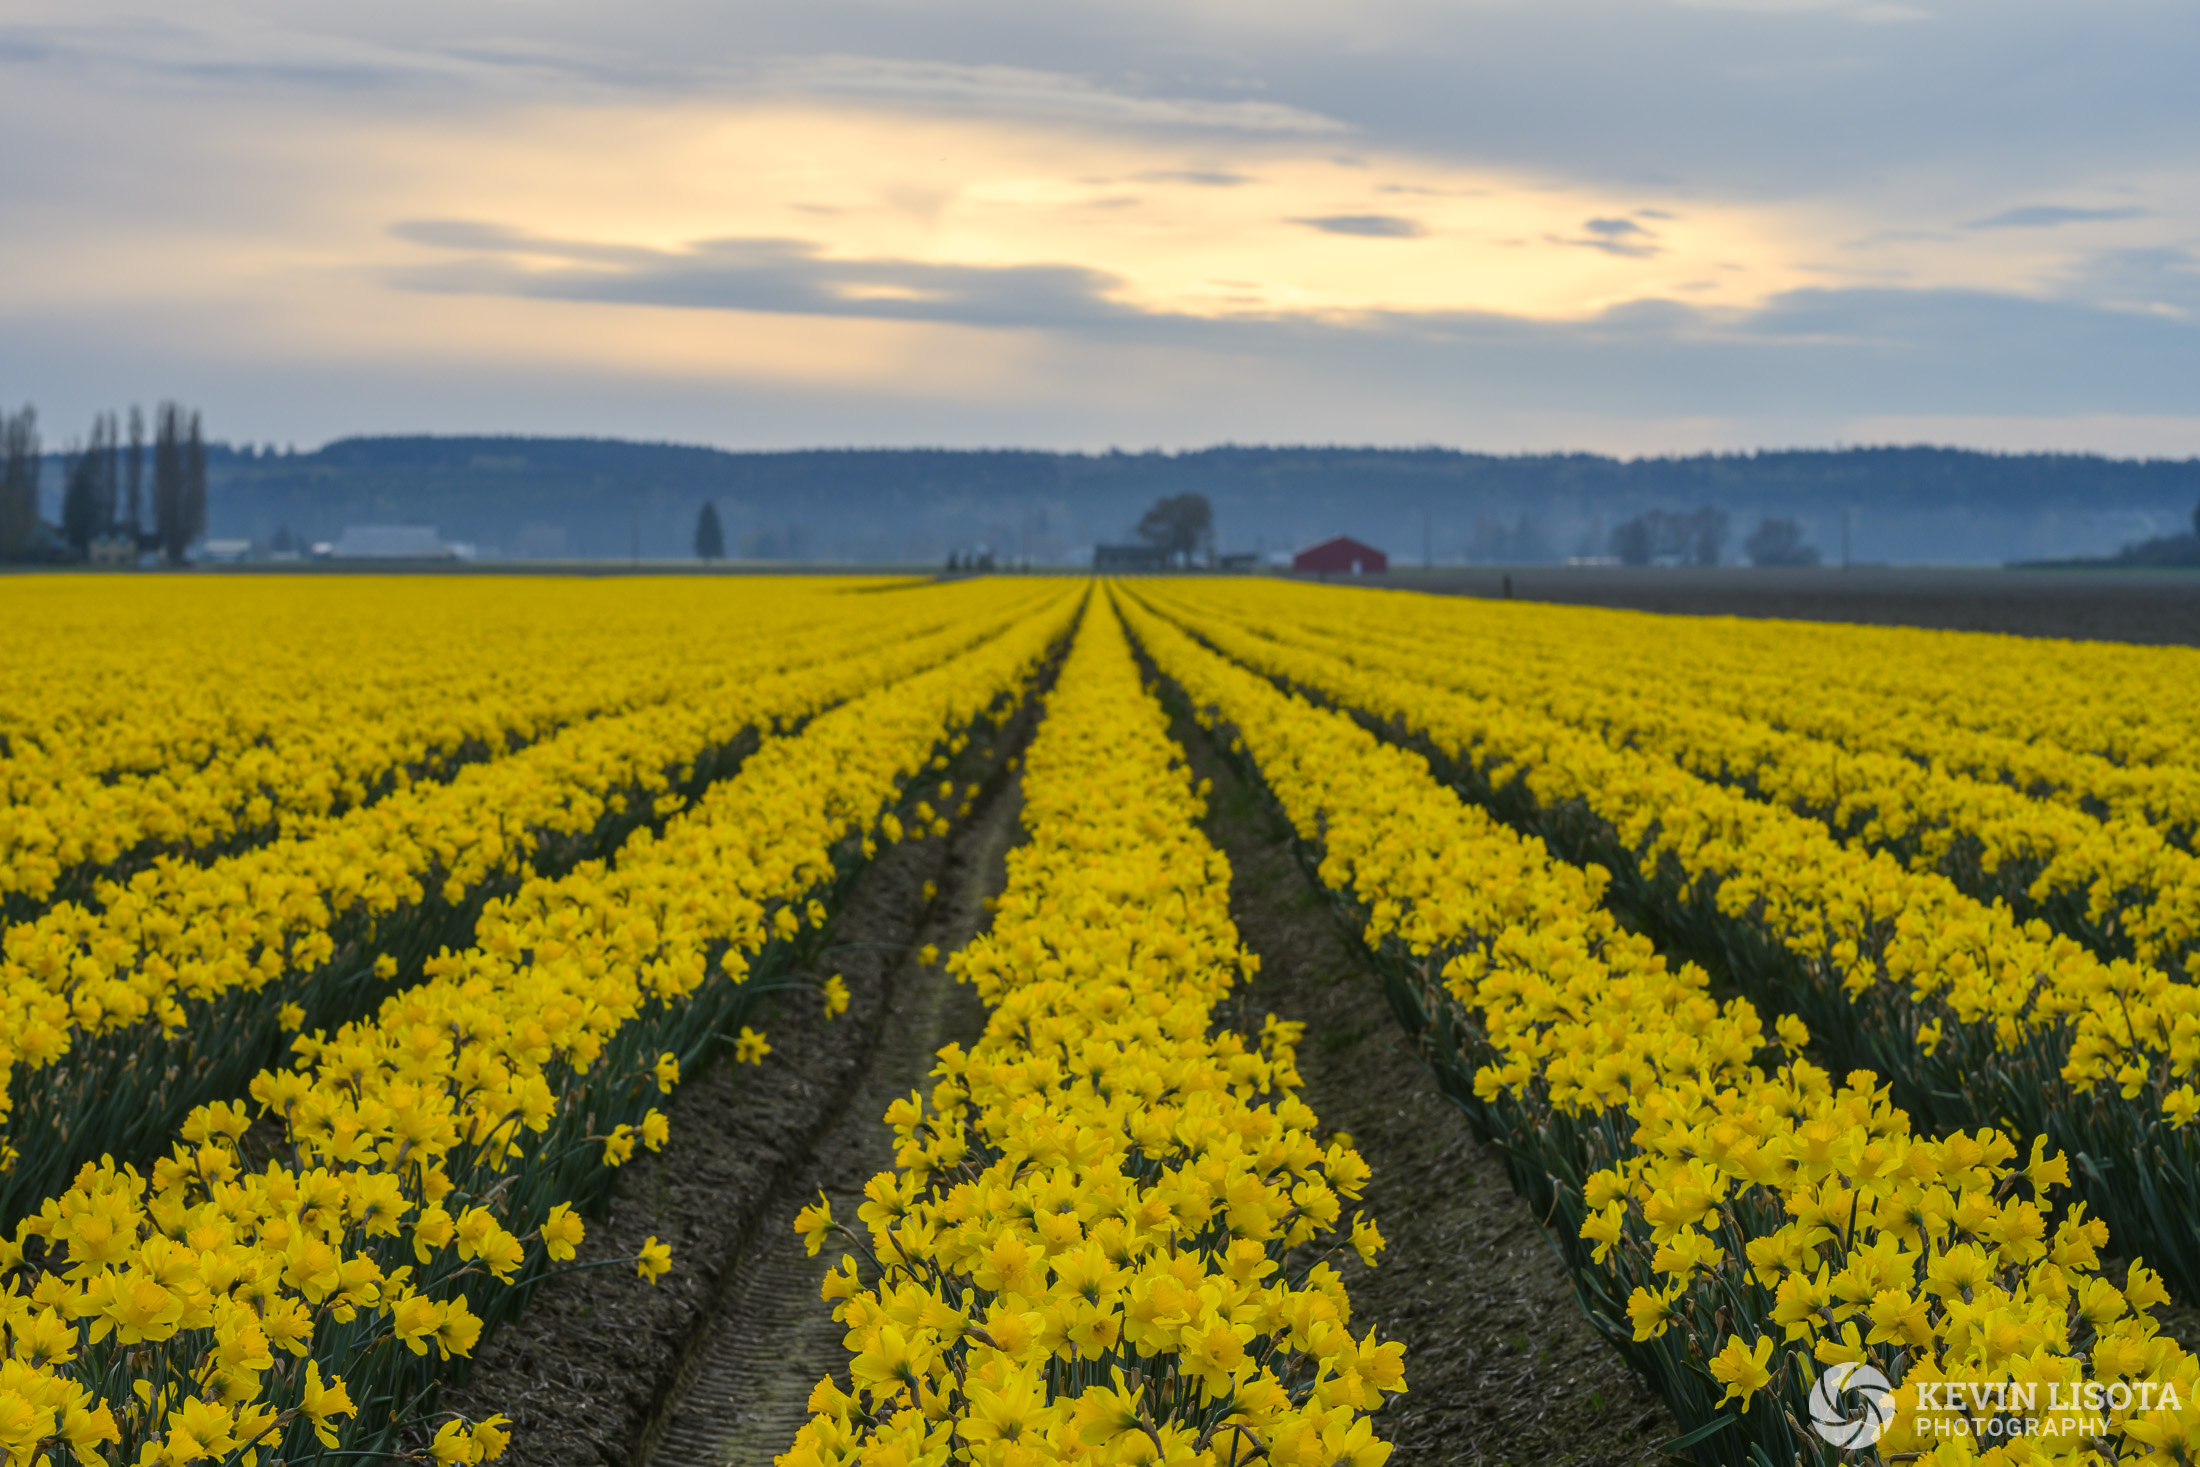
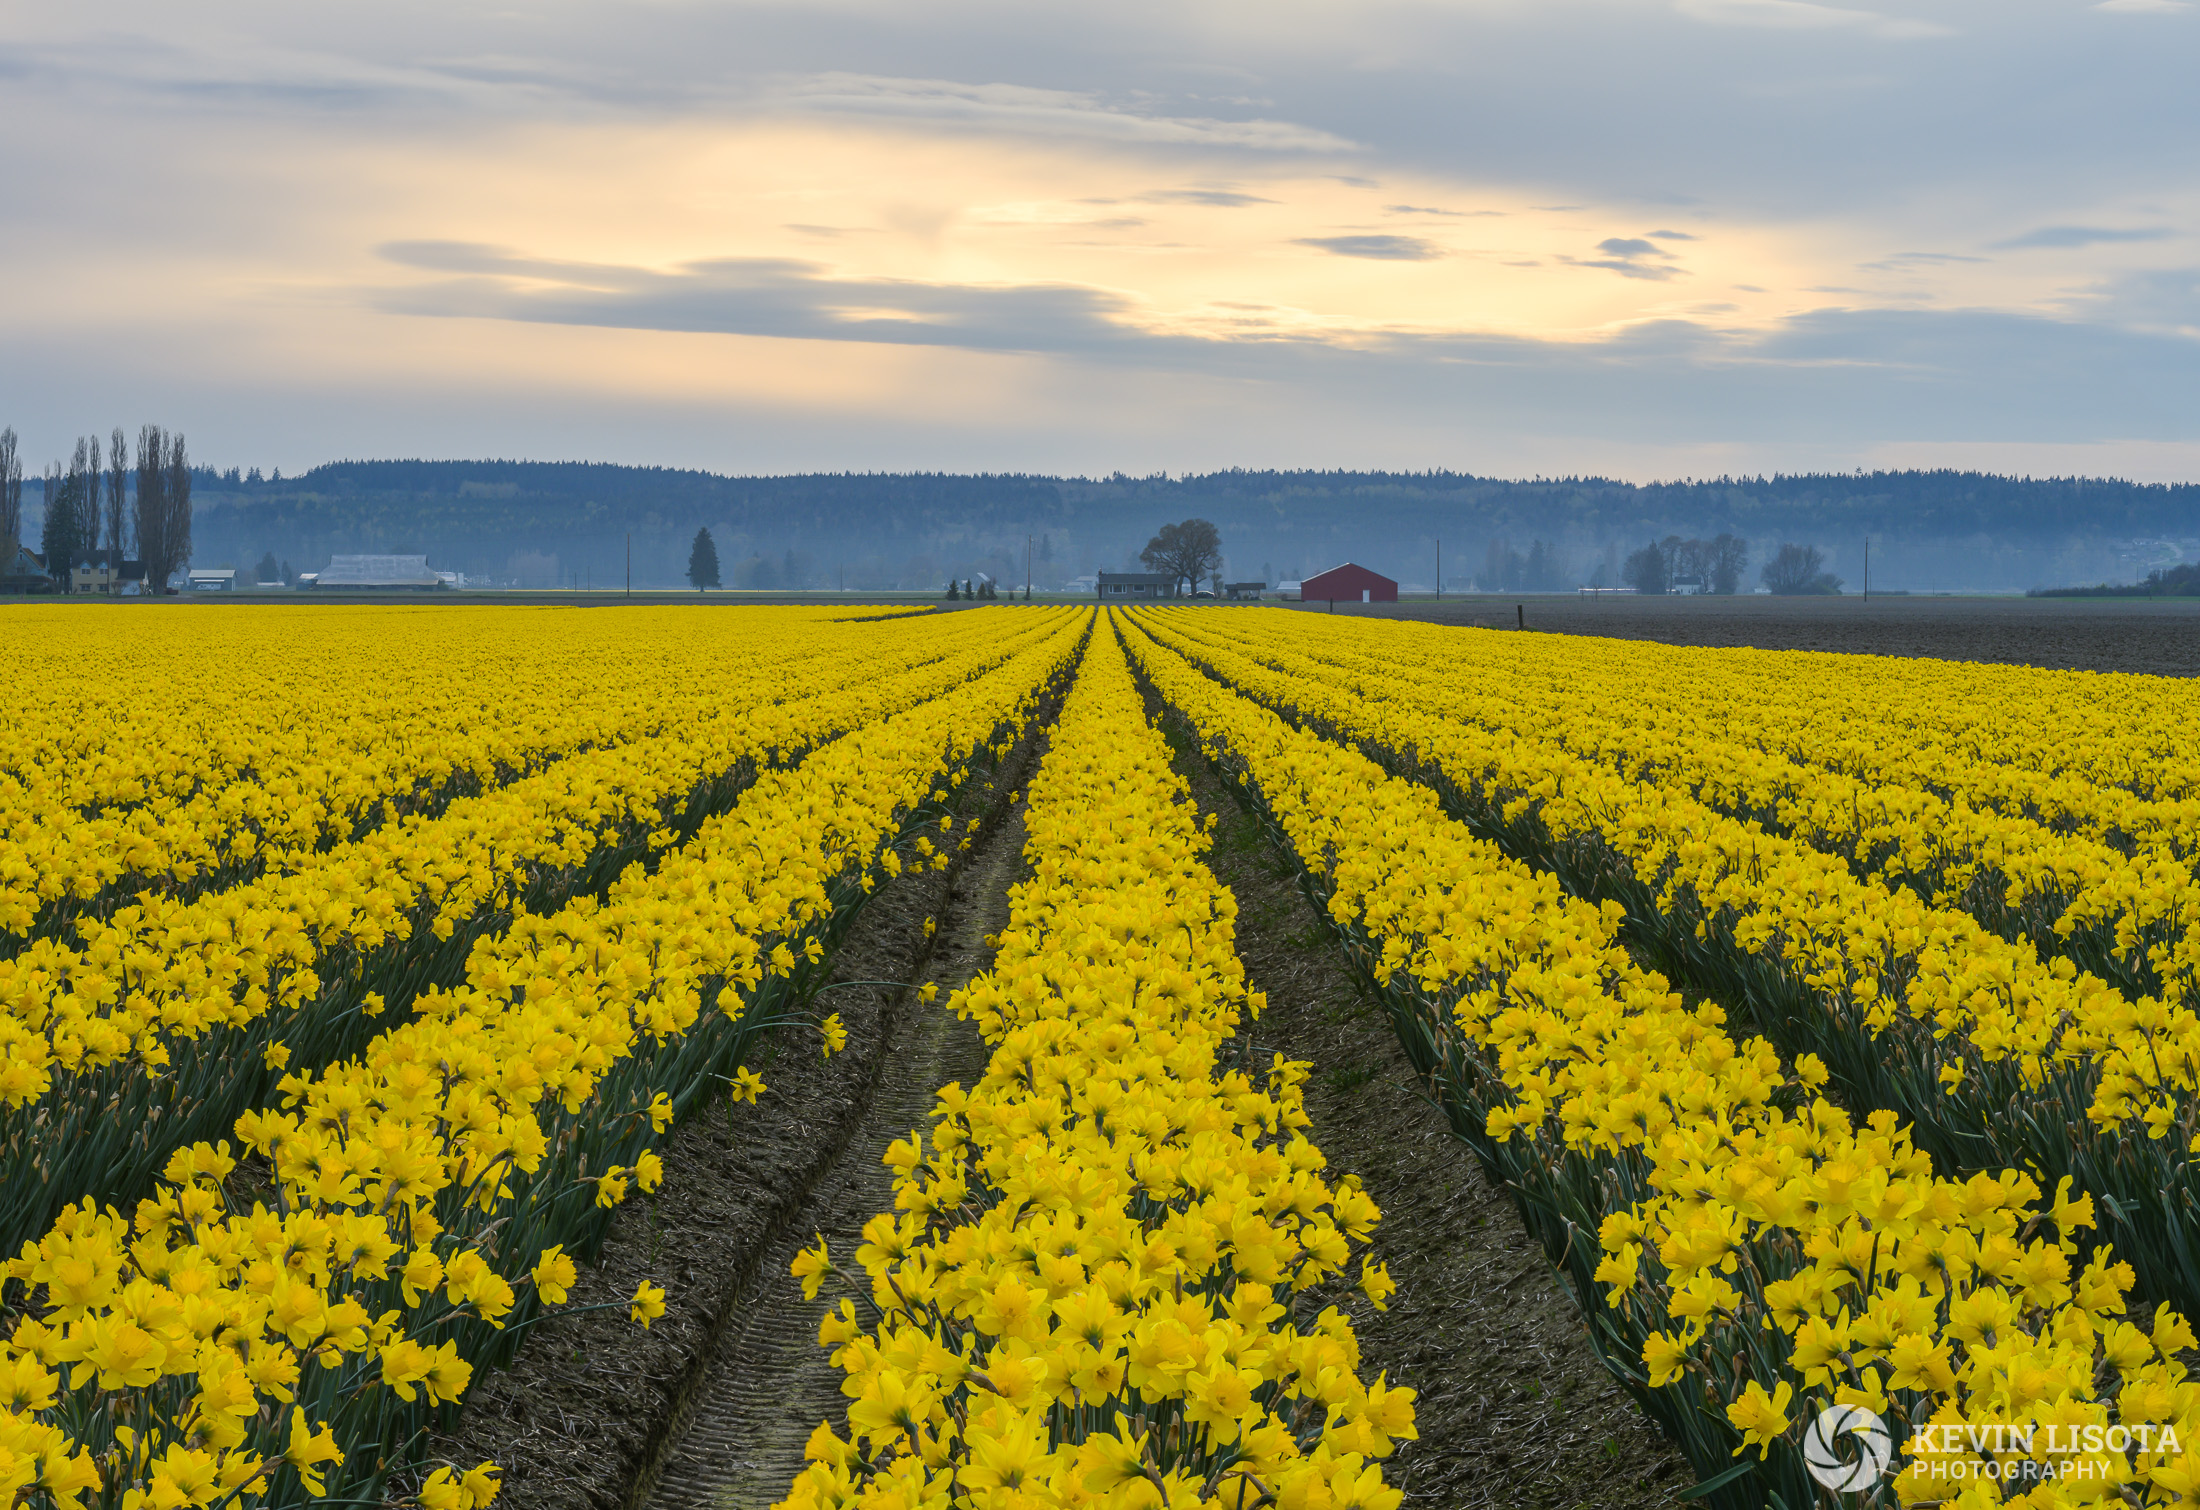
Tilt-shift lenses can potentially alter the plane of focus to achieve this in one shot, but most photographers do not own them, and tilt-shift lenses can be challenging to operate in the field.
How to take focus stacked images
Your camera must remain still when you take a series of images you intend to focus stack. A sturdy tripod is essential to avoid difficulties merging images with slight differences in perspective. Using a timer or cable release to trigger your shutter also helps ensure you don’t move the camera.
Some modern cameras have a focus shift or focus bracketing function that automates this process, but it can be achieved with any camera where you can vary the focus.
Compose your scene with your camera on a tripod. For landscape images, use an aperture in a range where the lens is in sharpest focus and avoids diffraction, such as f/8-f/11. While wider apertures with shallower field depths may improve the focus stacking process by increasing the variation between sharp and soft detail, it can be challenging to accurately take a series of images at wide apertures like f/5.6 without missing a slice of focus area.
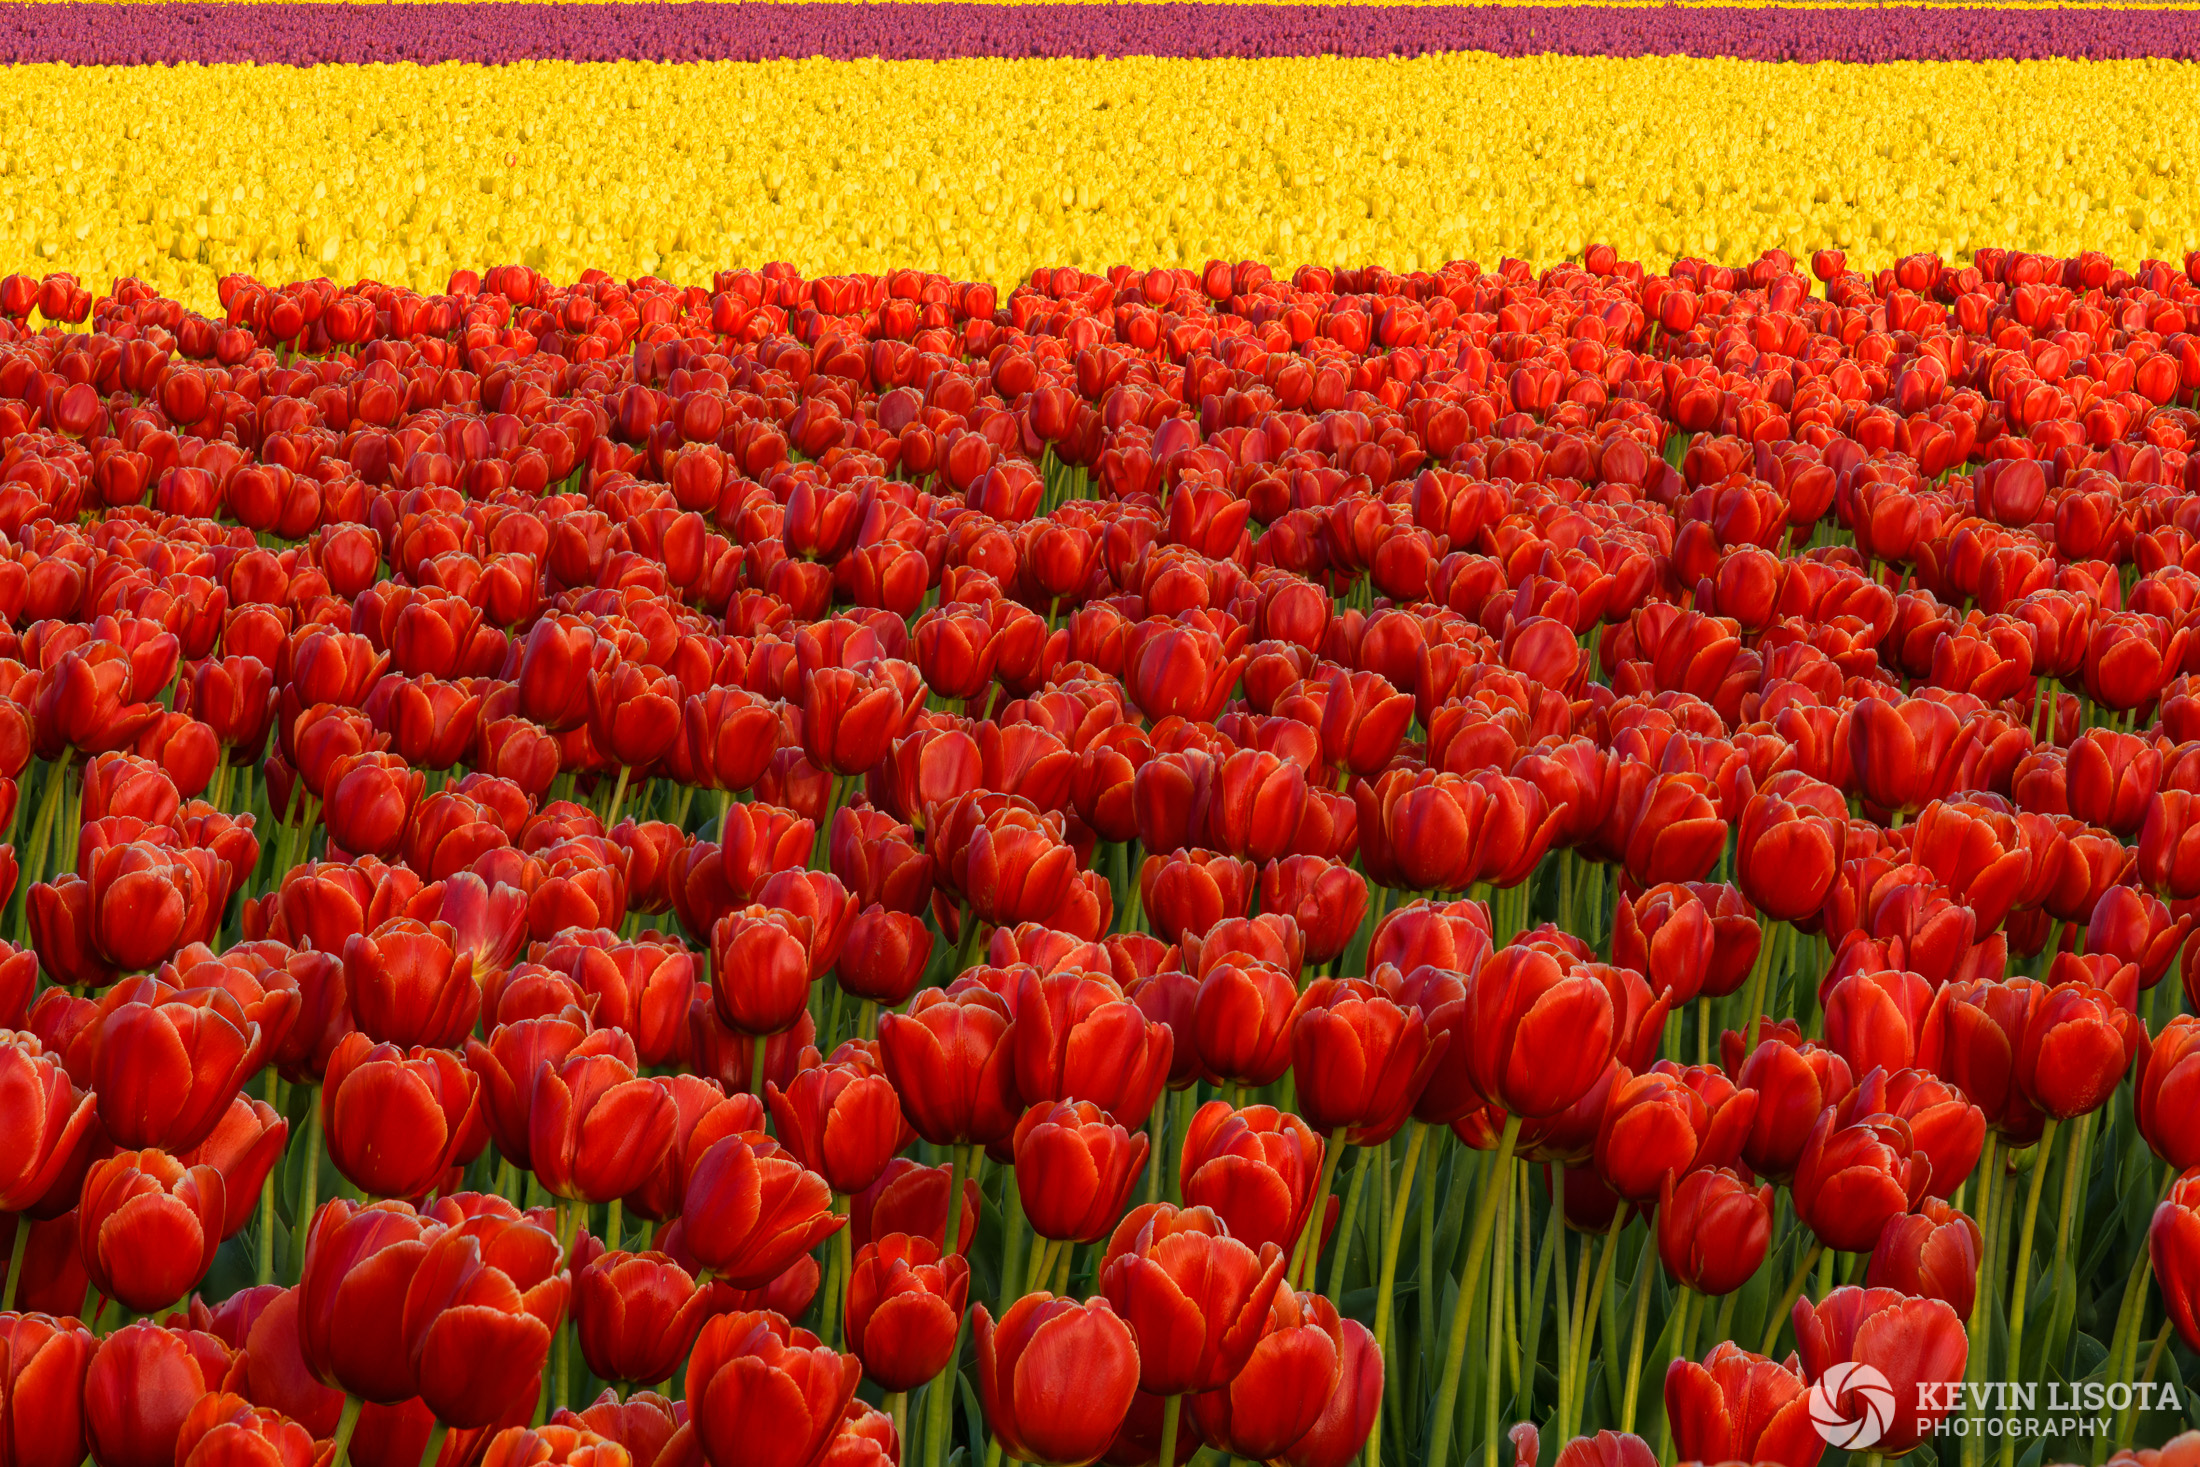
Since you will be blending the images, it is also essential to ensure that exposure settings like ISO and shutter speed are fixed throughout the series of photos. If you are outdoors, you should quickly take a series of photos. You want to avoid changes in lighting, exposure, or the sky that will make it challenging to blend images.
Motion in the scene can be your enemy. Flowers, leaves, plants swaying in the wind, or other moving objects are difficult or impossible to merge in post-processing without odd artifacts or tedious manual edits. Smooth motion, like that of flowing water, is easier to merge.
Using manual focus will be the easiest for most DSLR and mirrorless cameras. Focus on the nearest element in the scene and take a picture. Now, move the focus ring of your lens a small increment towards infinity to focus on a part of the scene that is slightly further away and take another photo. Repeat this process until you have reached the furthest element in your scene or infinity focus. Be sure that you have one picture at infinity focus.
On landscape photos, you will likely end up with a series of ~2–8 photos, depending on the aperture used and the depth of field you are trying to capture. A larger number of pictures with narrower focus areas will be necessary when using this technique for close-up macro photos or when using longer focal lengths.
Automatic focus bracketing/focus shift modes
If your camera body supports focus bracket shooting, learn how to use that mode. Here is an example from Nikon. Other cameras that support focus bracketing will have a similar process.
Remain in auto-focus mode, compose your shot, and focus on the closest part of the scene. Then, enter Focus Shift Shooting mode, choose the number of intervals and width of those intervals, and select Start. Because this process is automated, you can use a slightly wider aperture like f/5.6-f/8.
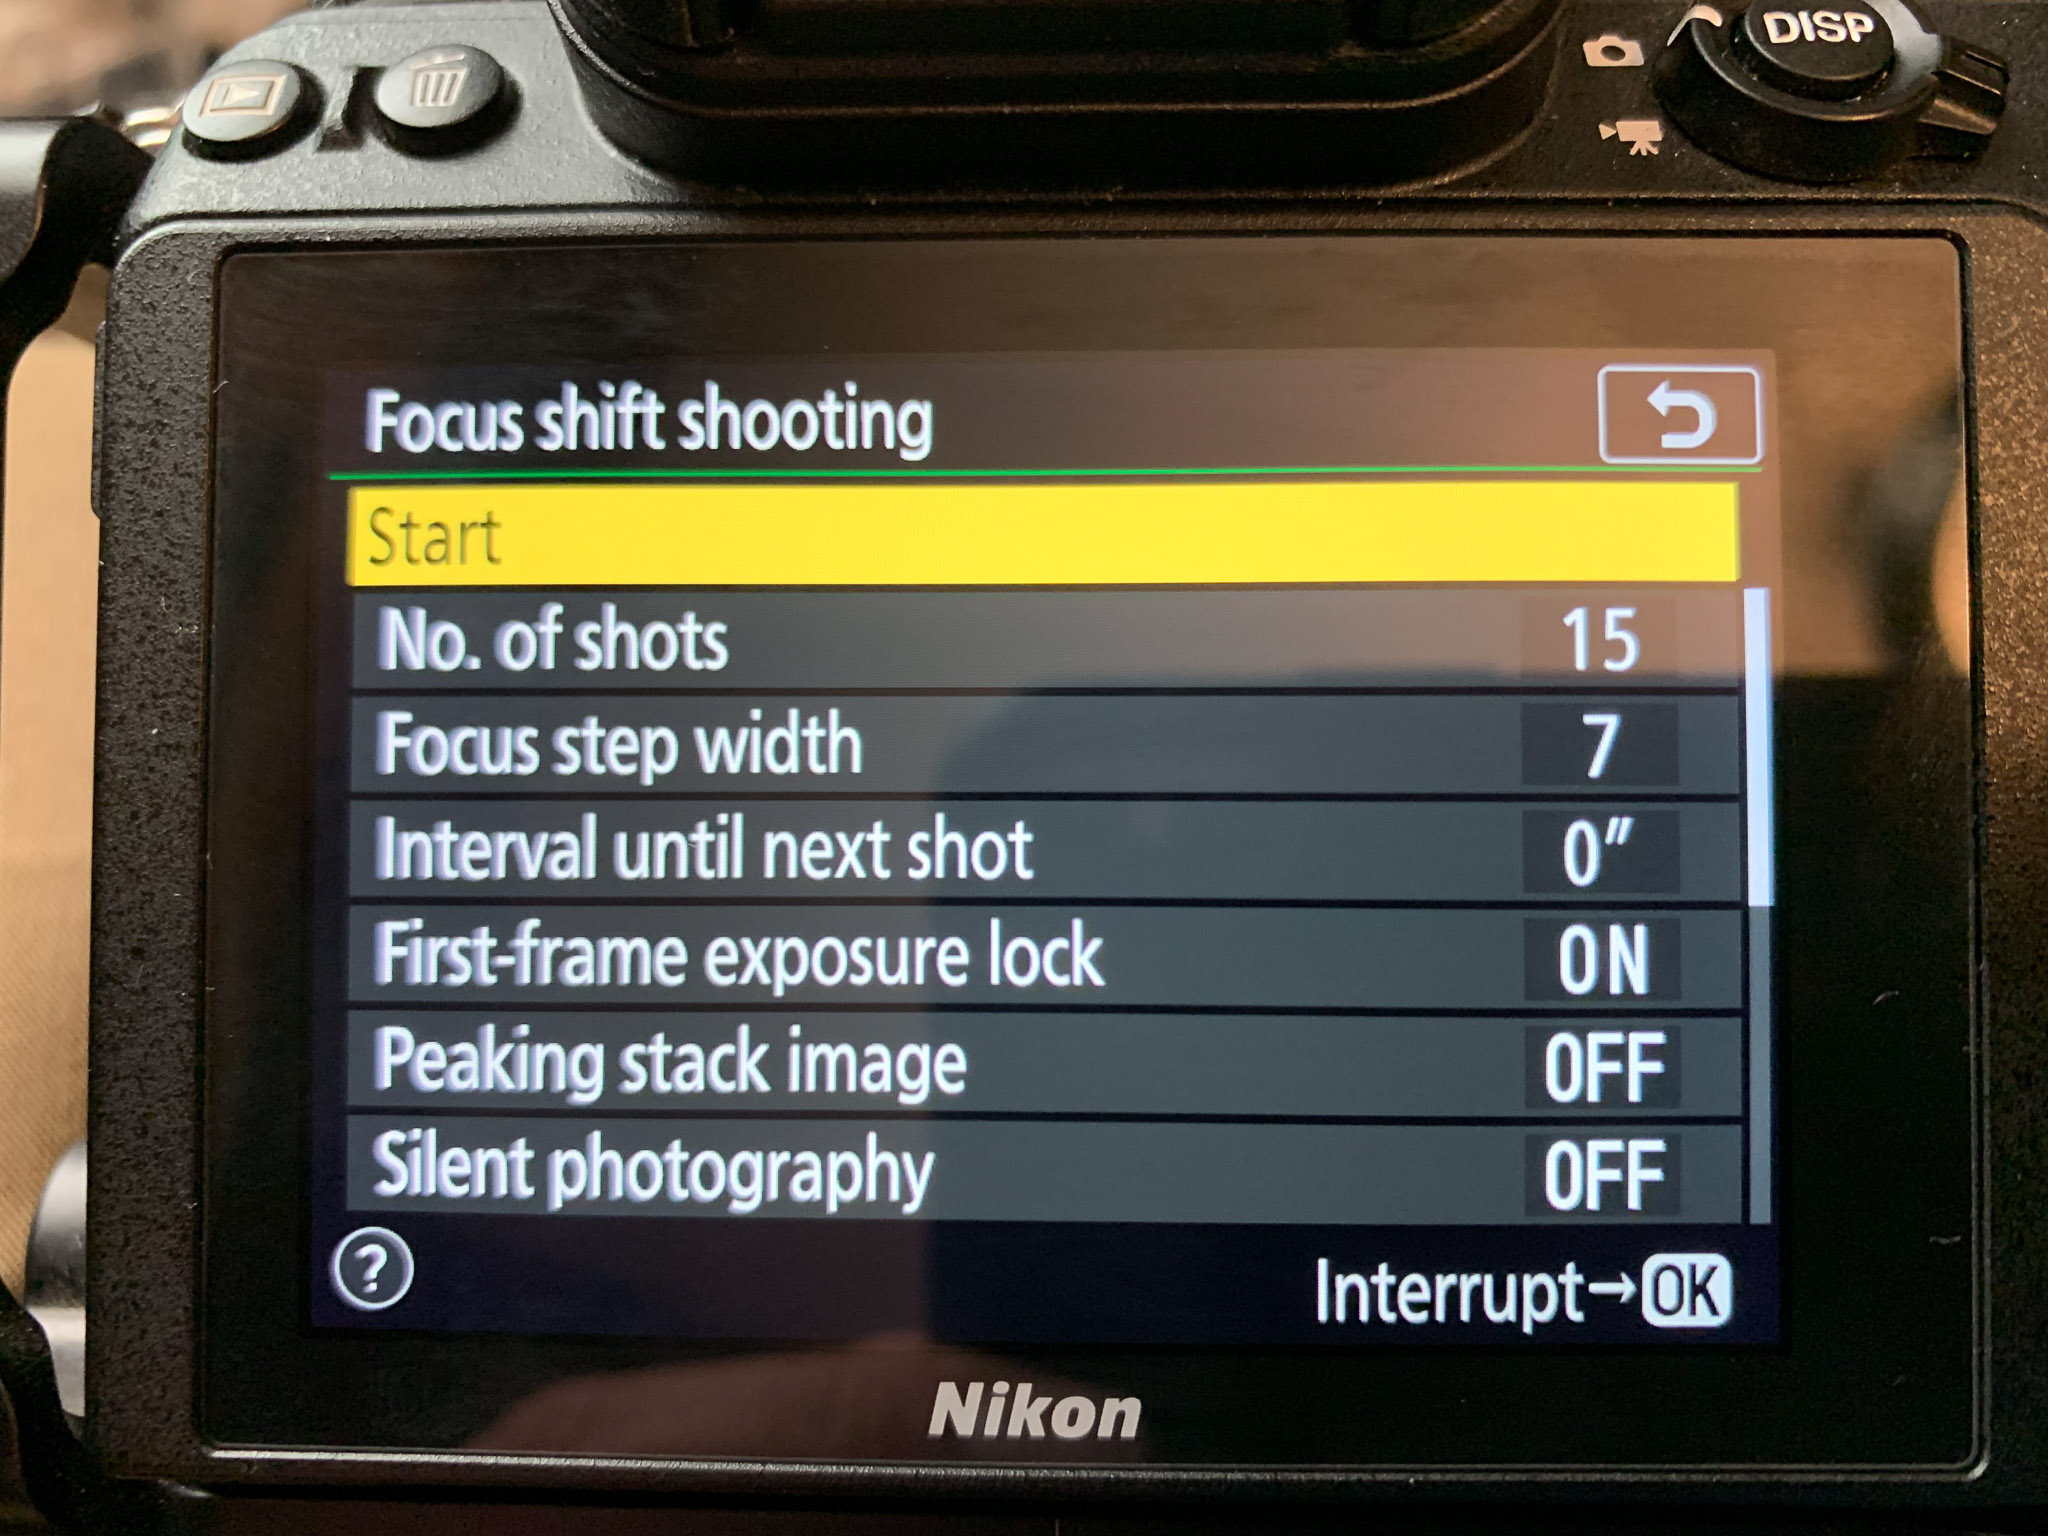
The camera will take a series of photos and change the focus depth at each exposure. The camera will push the lens beyond infinity focus, so you will want to discard the extra pictures at the end of the series that go beyond infinity before merging the images. Take one additional picture at infinity focus to ensure you have it.
Processing focus-stacked images
Synchronize edits in Lightroom
Focus stacking is a technique you cannot achieve with Lightroom alone. It needs the assistance of Photoshop.
Starting in Lightroom, identify a focus-stacked sequence of photos. This sequence begins with the nearest part of the scene in focus and ends with the most distant part of the scene in focus.
Edit one photo to your liking, adjusting color temperature, exposure, contrast, highlights, etc. Also, any lens correction, sharpening, noise reduction, and spot removal should be applied.
Once the Lightroom edits are complete, synchronize the edits to the series of focus-stacked images. The final result should be a group of identical photos other than their focus points.
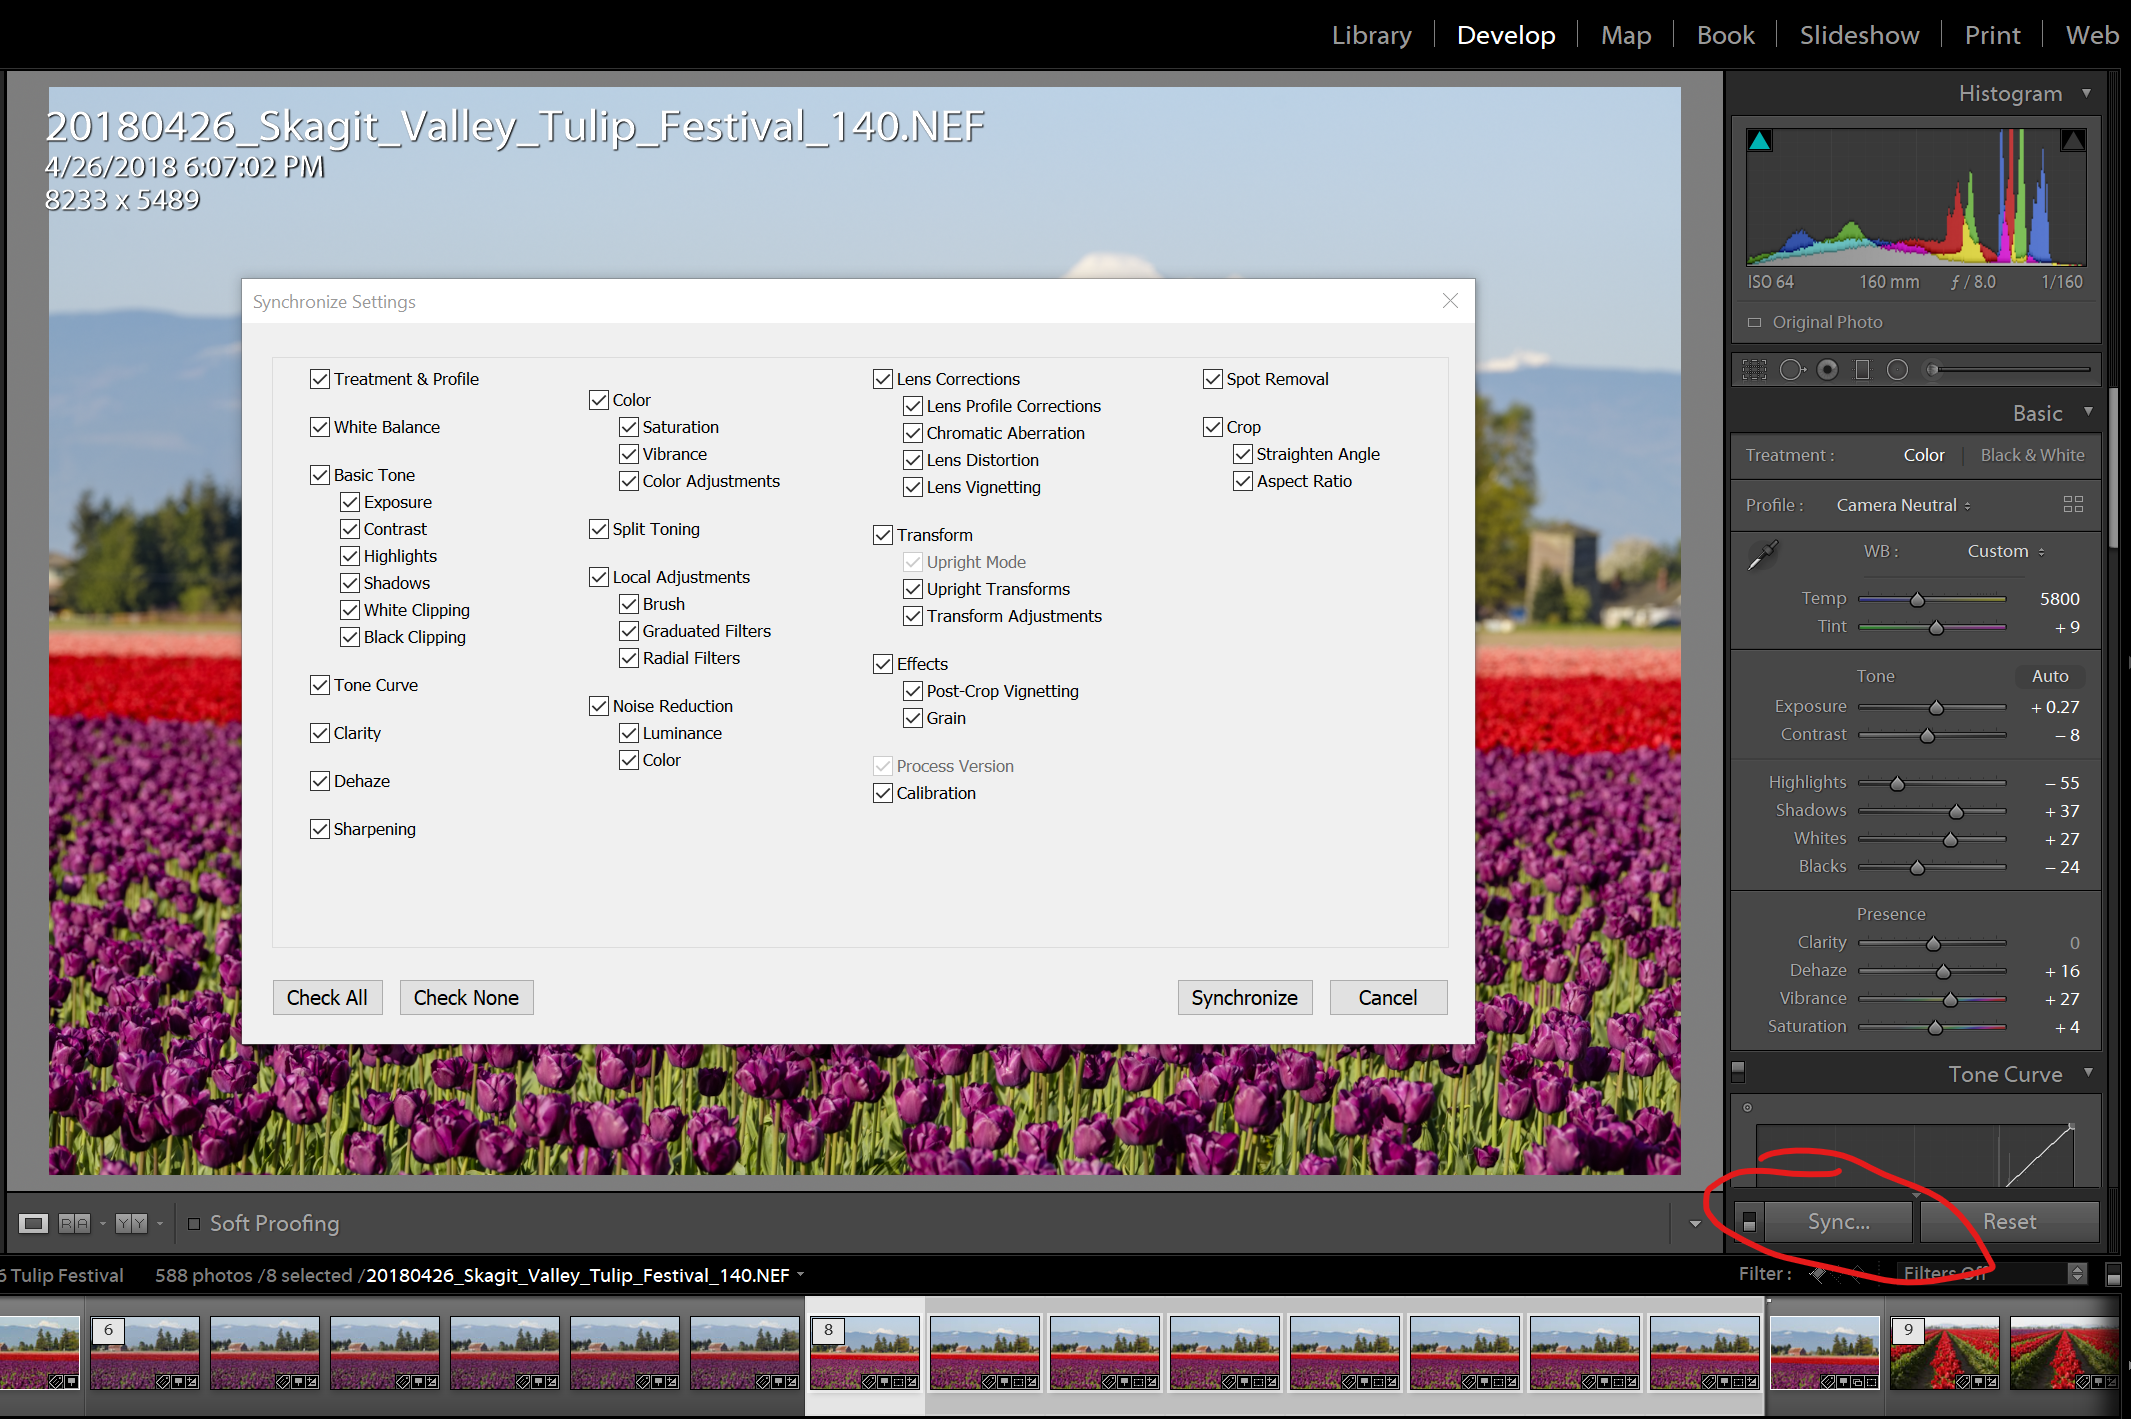
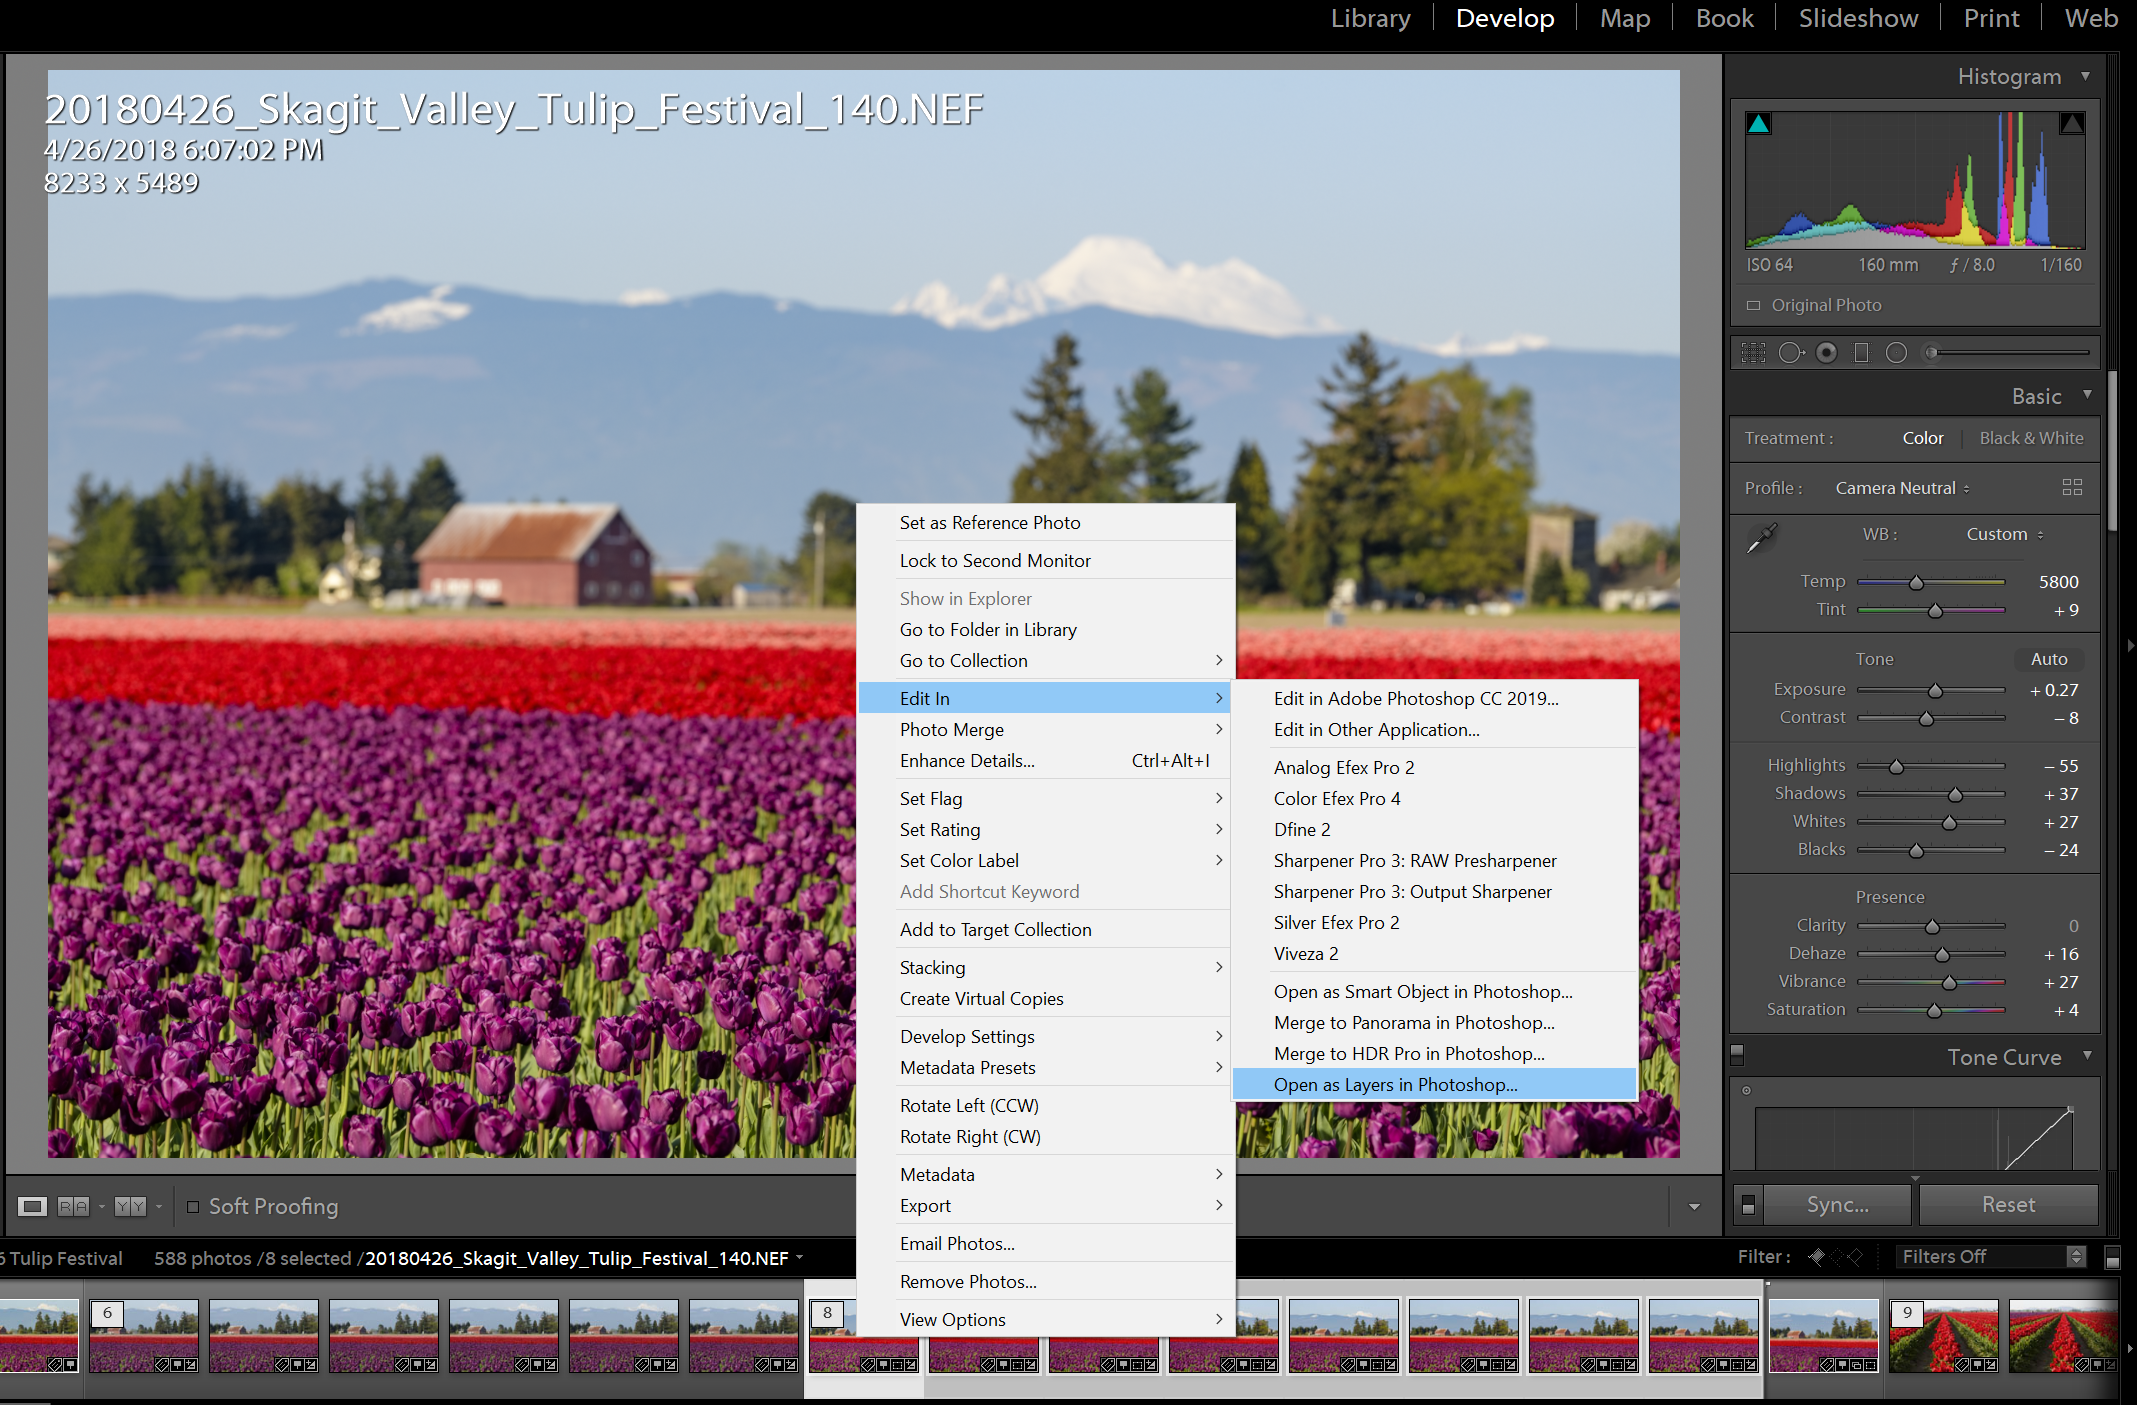
In Lightroom, highlight the series of photos. Right-click and choose Edit In > Open as Layers in Photoshop to bring each photo into Photoshop as an individual layer.
Remove focus breathing with auto-align
Most still camera lenses will exhibit some amount of focus breathing. Focus breathing is when the lens’s focal length changes when focusing at different depths.
In your series of focus-stacked images, this may be subtle or obvious. As the focus changes, you will see that the images appear to zoom in or out. Sometimes, it is a few pixels, but sometimes more, depending on the lens you used. Let’s look at an example.
I own two 70-200mm lenses. One is the Nikkor 70-200mm f/2.8E FL. The other is the smaller/lighter Nikkor 70-700mm f/4G. Both are very sharp, but the f/4 version exhibits much more focus breathing than the f/2.8E. After auto-aligning a series of images at different focus points, you can see the effect focus breathing has on the changing scale of the pictures.
- 70-200mm f/2.8E
- Full resolution: 8279 x 5519 pixels
- After auto-align: 8255 px (-24 pixels) x 5503 px (-16 pixels)
- 70-200mm f/4
- Full resolution: 8256 x 5504 pixels
- After auto-align: 8094 px (-162 pixels) x 5395 px (-109 pixels)
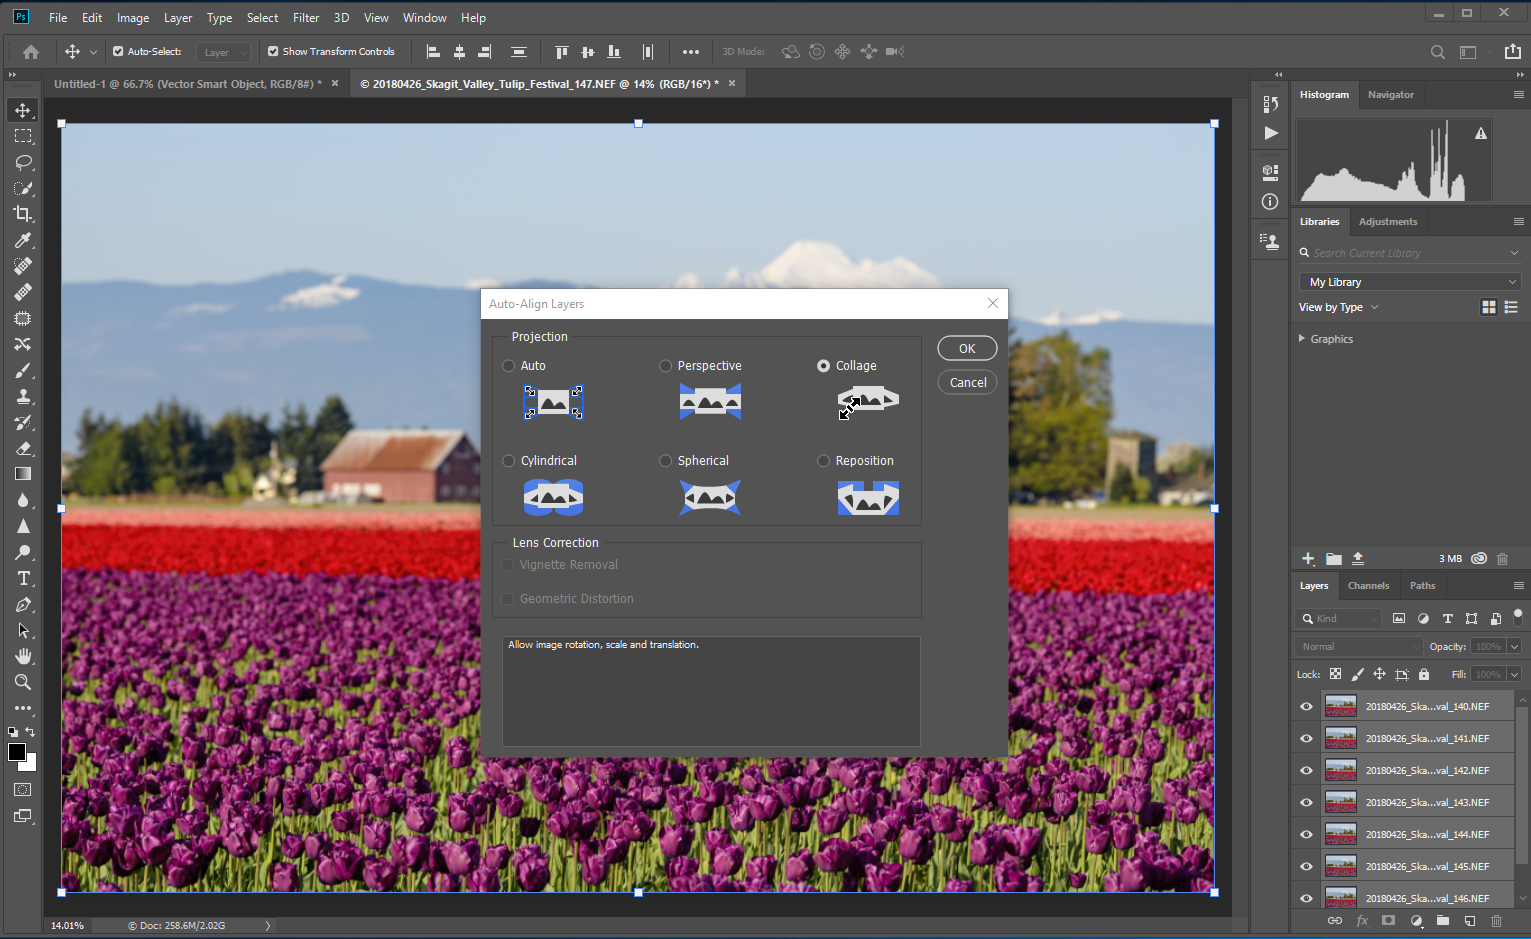
Photoshop can help correct this by auto-aligning the images. Select all the layers you brought in from Lightroom and choose Edit > Auto-Align Layers. For Projection, Auto will usually give great results, but you can also use Collage, which allows for image rotation, scale, and translation. The resulting layers will be scaled slightly to align the image and remove any changes in scale, perspective, or distortion caused by focus breathing.
Blending focus-stacked images
Photoshop’s Auto-Blend Layers command allows you to blend multiple images with different focus areas.
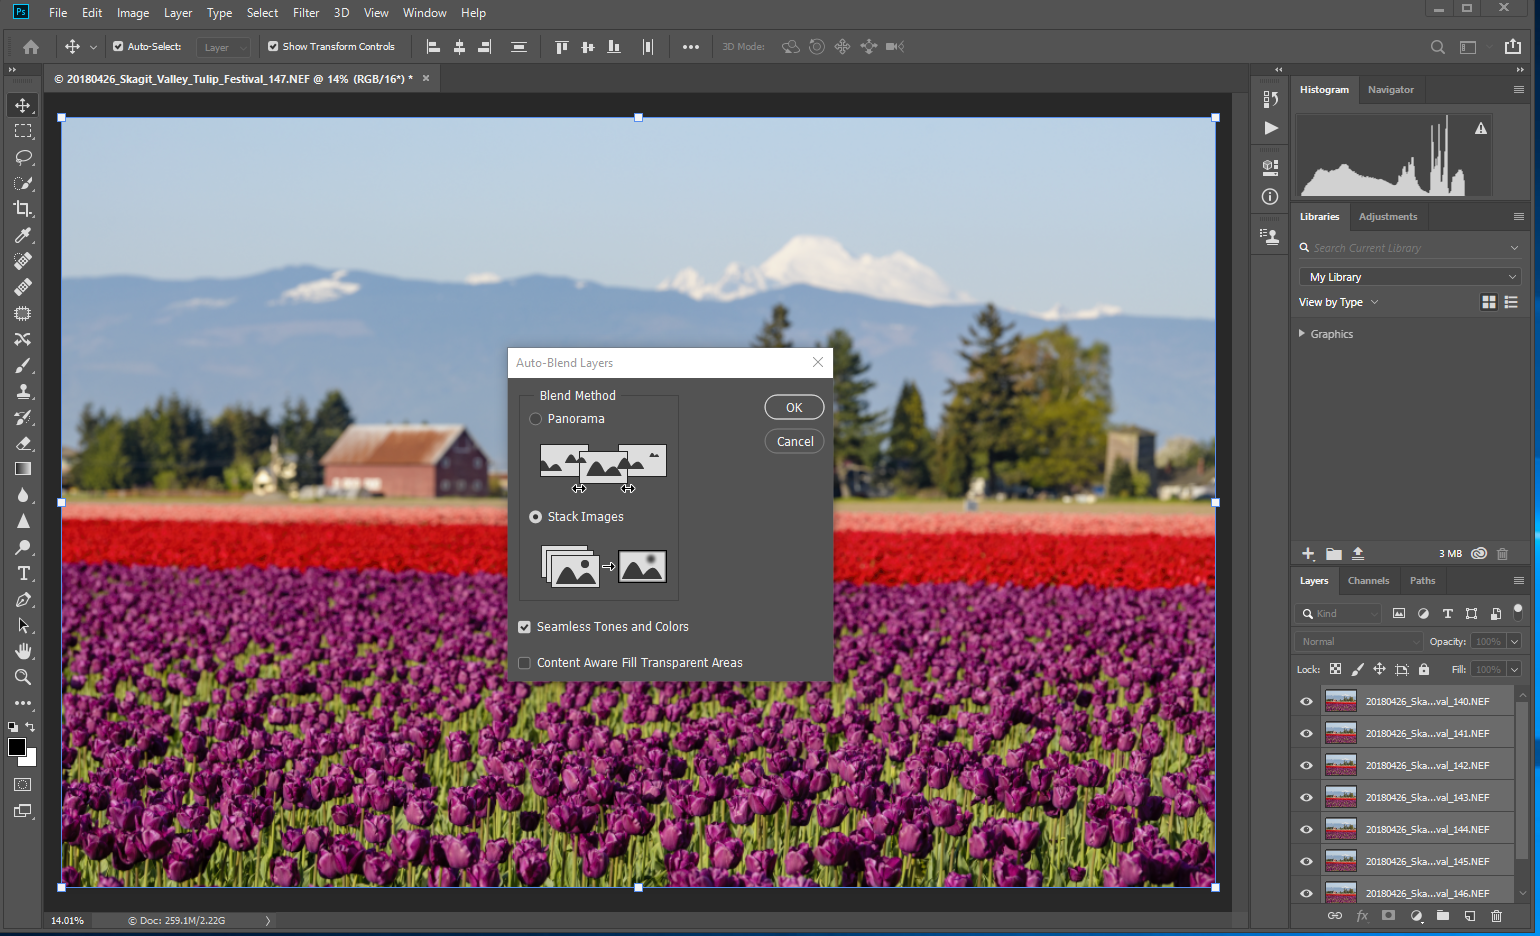
Once your layers are aligned, select the same layers and choose Edit > Auto-Blend Layers. Choose Stack Images for your Blend Method. Also, select Seamless Tones and Colors and click OK. This process may take a while.
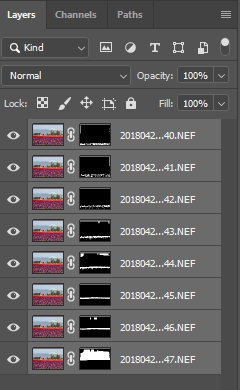
A set of layer masks is applied to each layer’s focus areas. These are regular Photoshop layer masks, so you could alter or tweak them if the initial result isn’t to your liking.
Fix mistakes in the sky when auto-blending
Photoshop compares areas of micro-contrast in each photo to determine which areas are in focus and which are not. This process works great for many parts of the scene, except for the sky.
A clear sky or even a cloudy sky will have little or no discernible changes in micro-contrast when it is in focus or out of focus. Because of this, focus stacking software may mistakenly blend parts of the sky using the wrong layer.
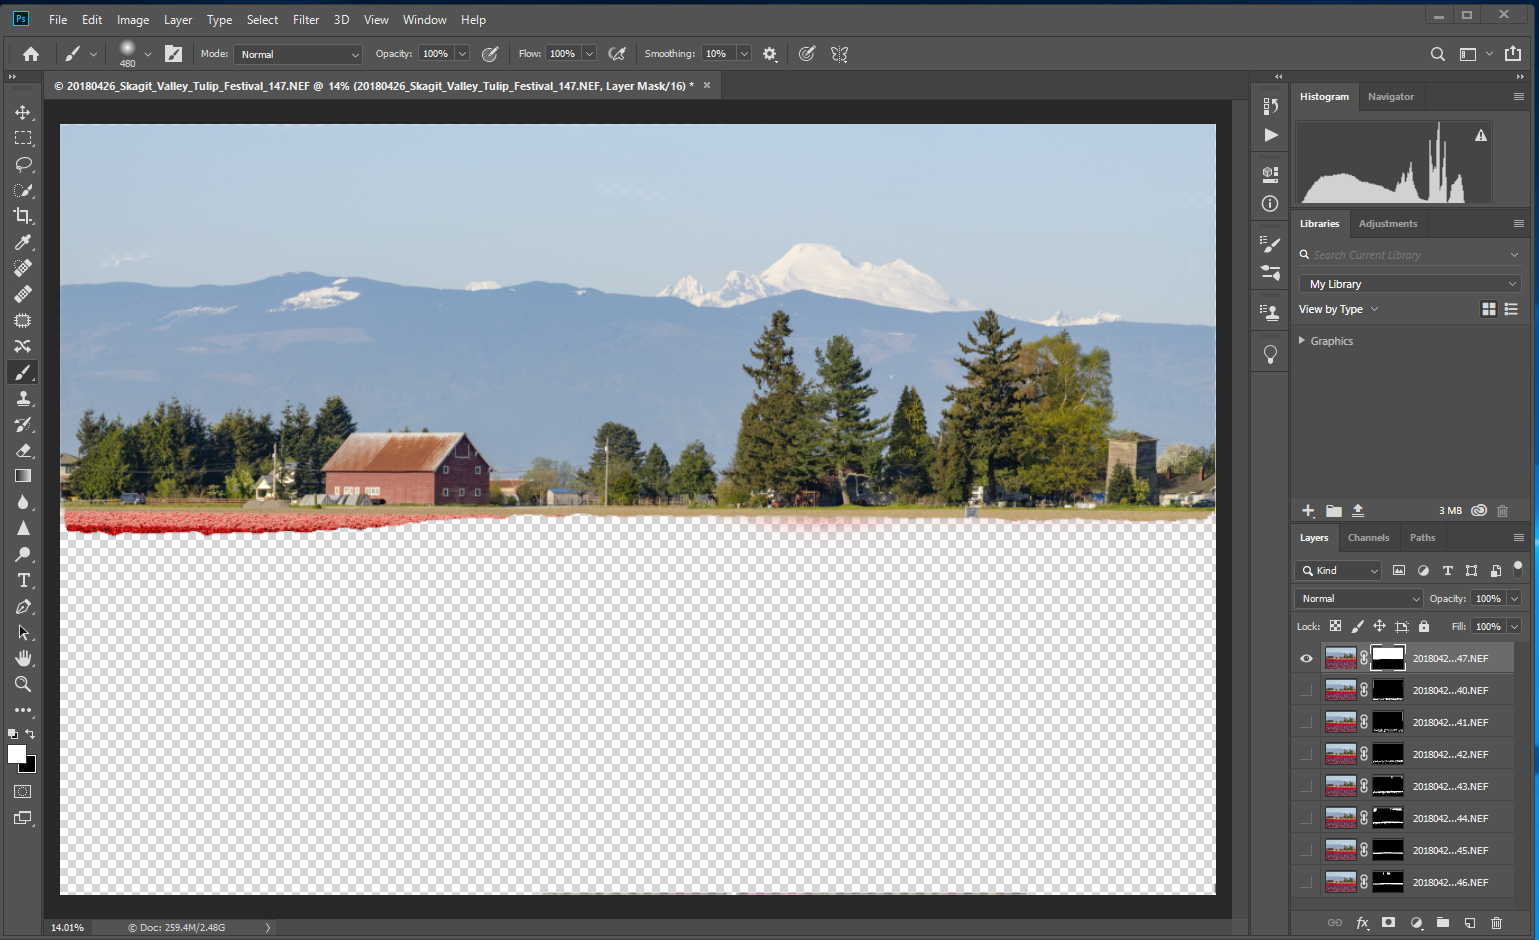
Inspect the layer masks applied to the layer at infinite focus to see which layer or layers are used for the sky. Clicking the eye icon next to each layer on and off can help you see which layer(s) are used in the sky.
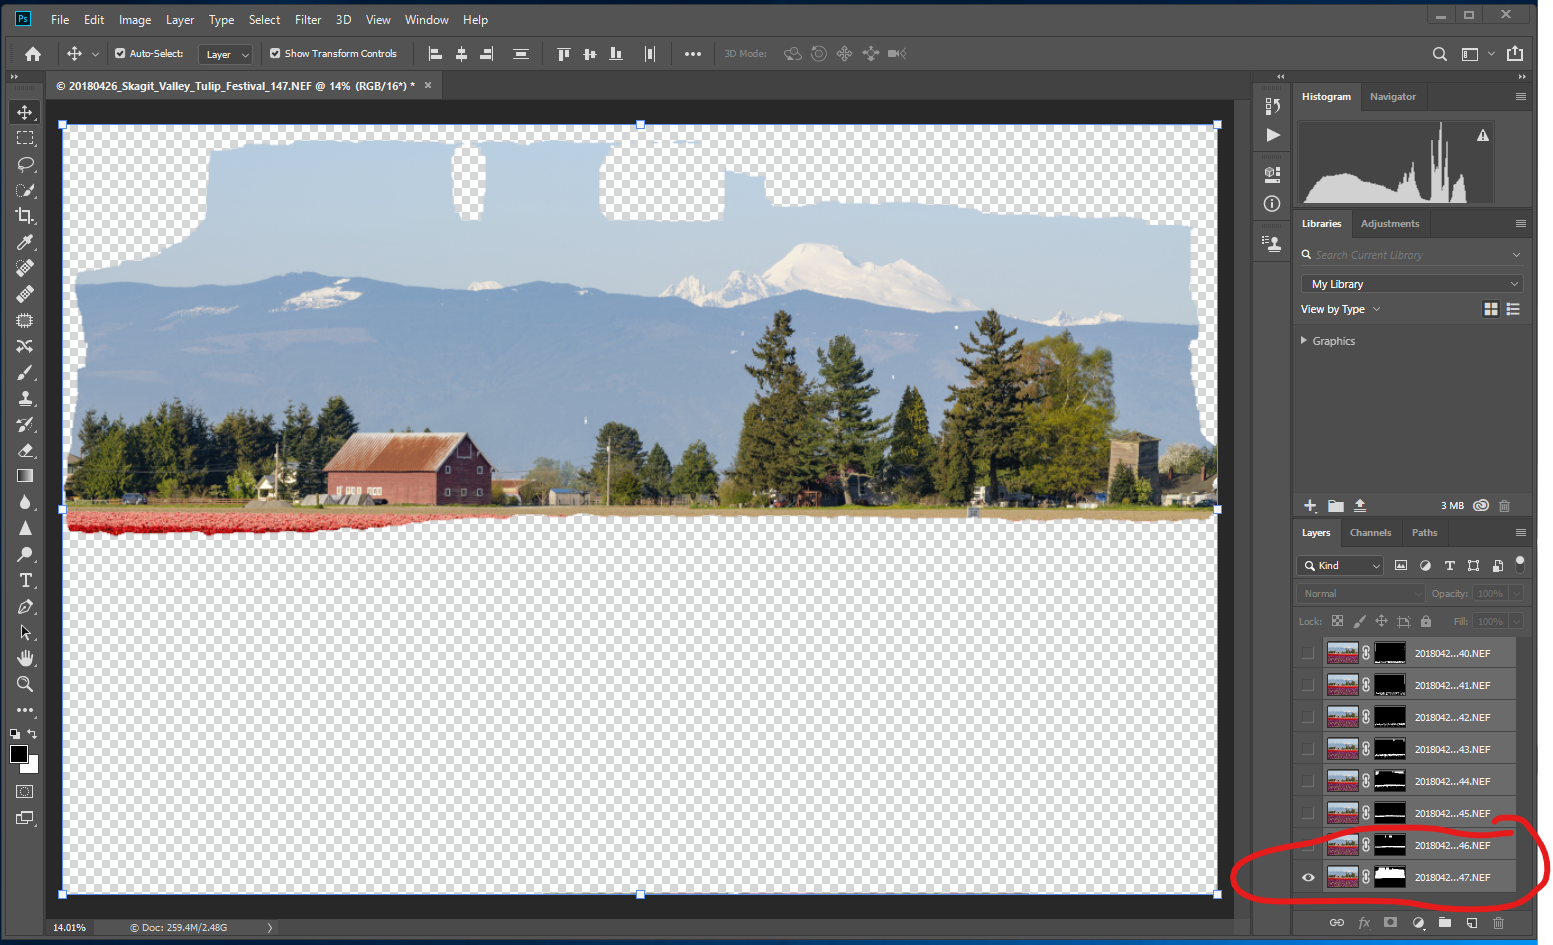
In some cases, despite blending mistakes in the sky, the image may look perfectly acceptable. If blending errors in the sky are noticeable, you can fix them by altering the sky’s layer mask.
First, choose the layer at infinity focus. Move it to the top of the layer stack if it is not already there. Turning off the visibility of the other layers will help you see the exact layer mask you are working with.
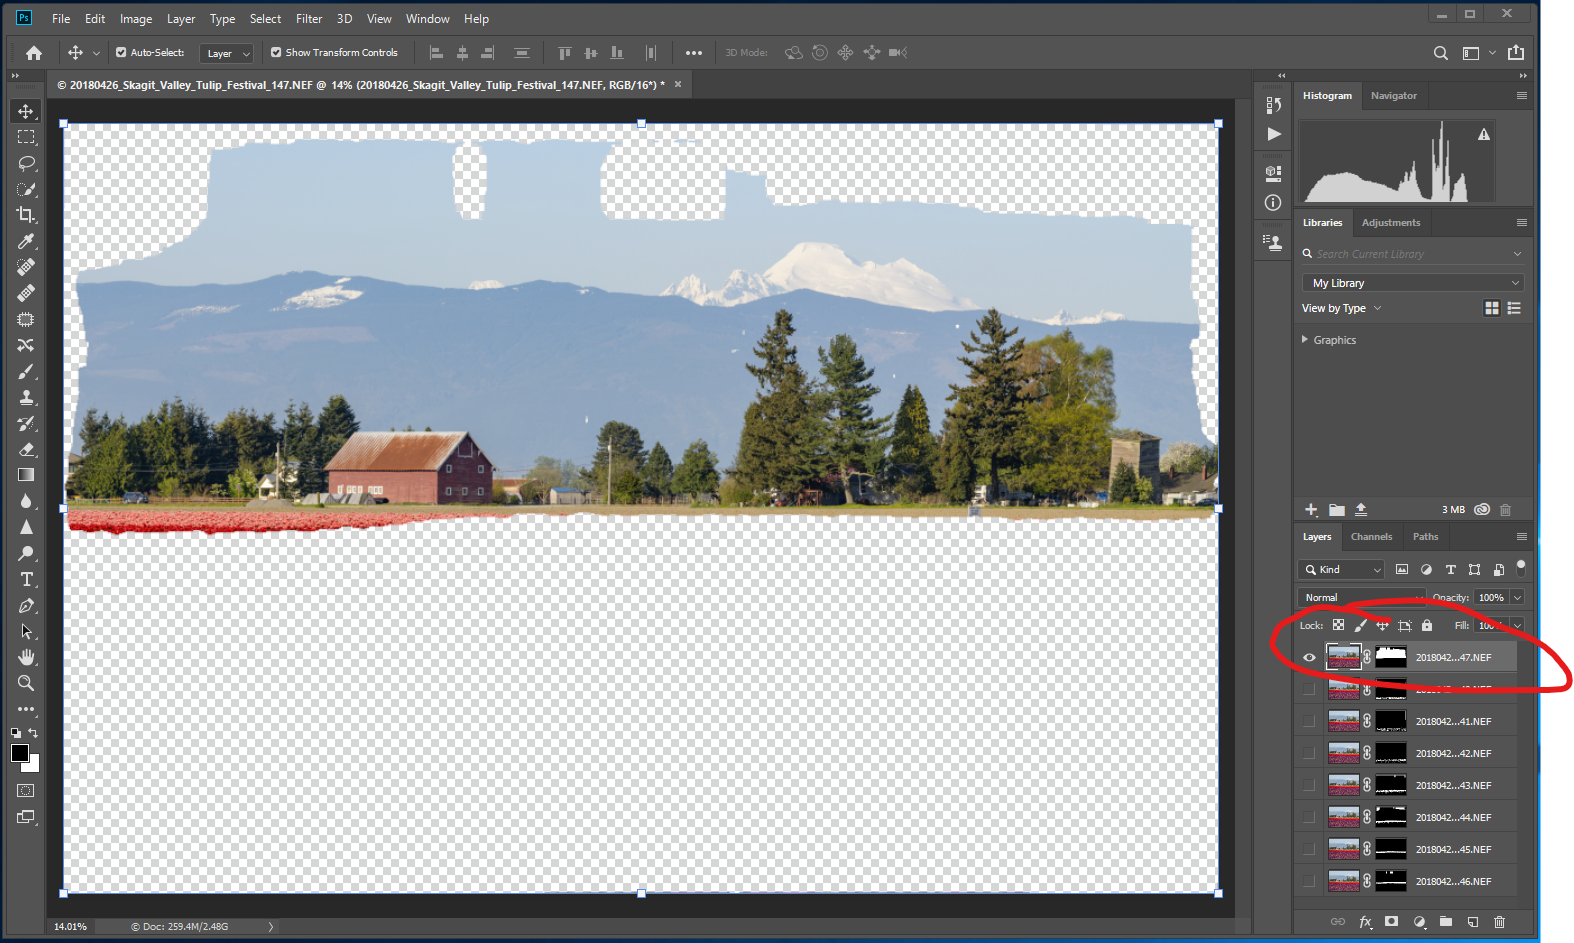
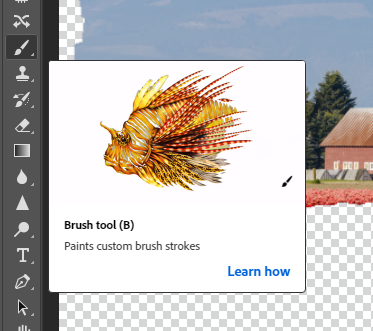
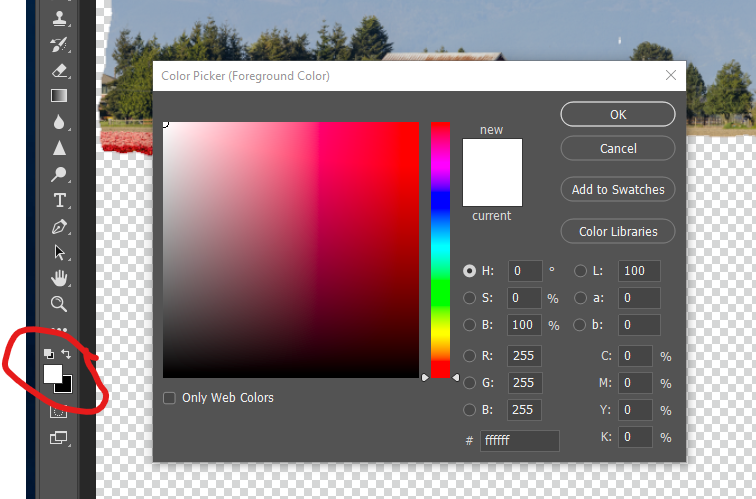
Now highlight the layer mask, which should include the entire sky. Choose a brush tool and make it white. Brush in all of the areas of the sky that are masked out.
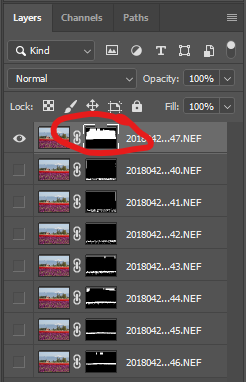
As you brush with a white brush, the transparent areas begin to reveal the photo. Ensuring this layer is at the top of the layer stack will make it visible for the sky versus the lower layers of the image.
Clean up the edges
If your lens exhibits quite a bit of focus breathing, the edges of the merged photos will show transparent areas. Auto-aligning the images will cause changes in scale, leaving transparent areas that need to be cropped from your final image.
You may also find that the auto-blend process leaves artifacts at the photograph’s edges that appear out of focus. Zoom to at least 100%-200% to inspect each edge of the photo and crop off those artifacts.
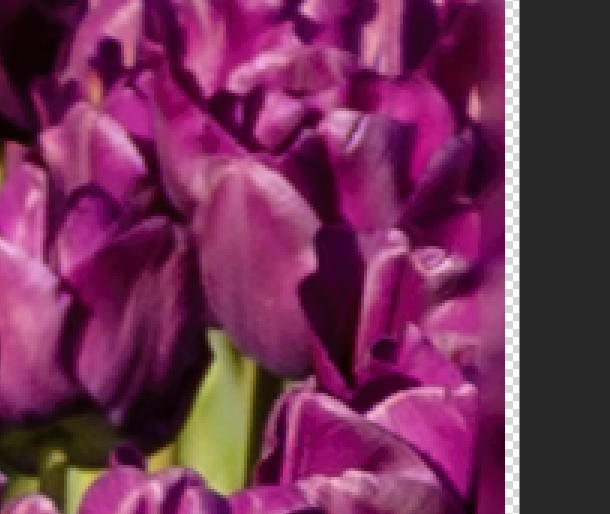
The quickest solution is to crop out any edges that did not satisfactorily merge because of changes in scale. This may only be a few pixels for some lenses with minor focus breathing, but you may have to crop more for lenses with heavier focus breathing.
Once you are happy with the merged image, you can flatten it to remove the layers and save your final image.
Other focus stacking solutions
Photoshop is not the only software tool available for focus stacking. Software like Helicon Focus and Zerene Stacker can focus stack images and offer more control and tweaks for the image blending process that may provide better results. However, for most uses, Photoshop’s focus stacking capabilities are all you need.
Focus-stacked image gallery
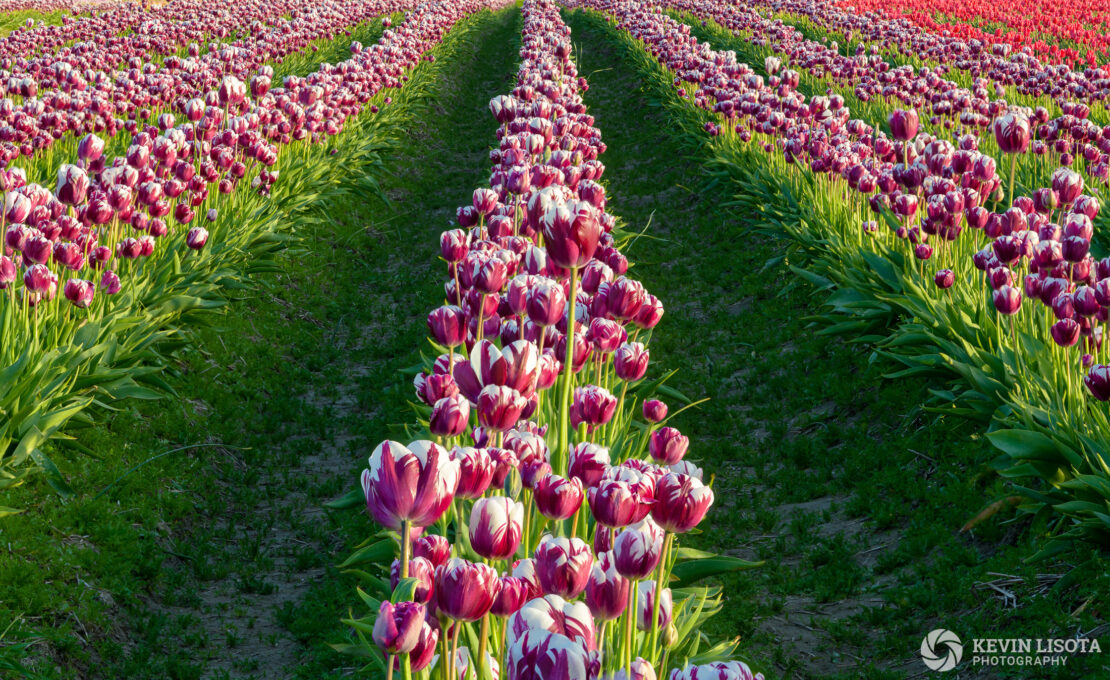
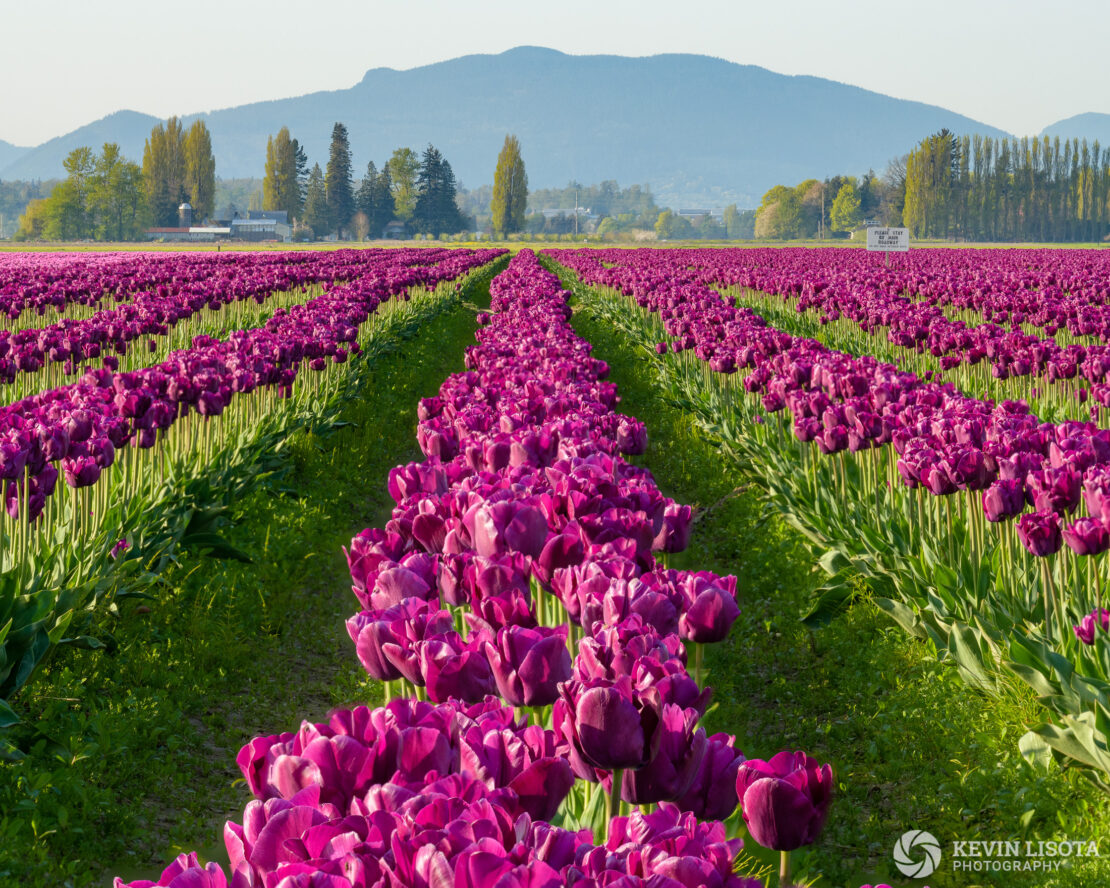
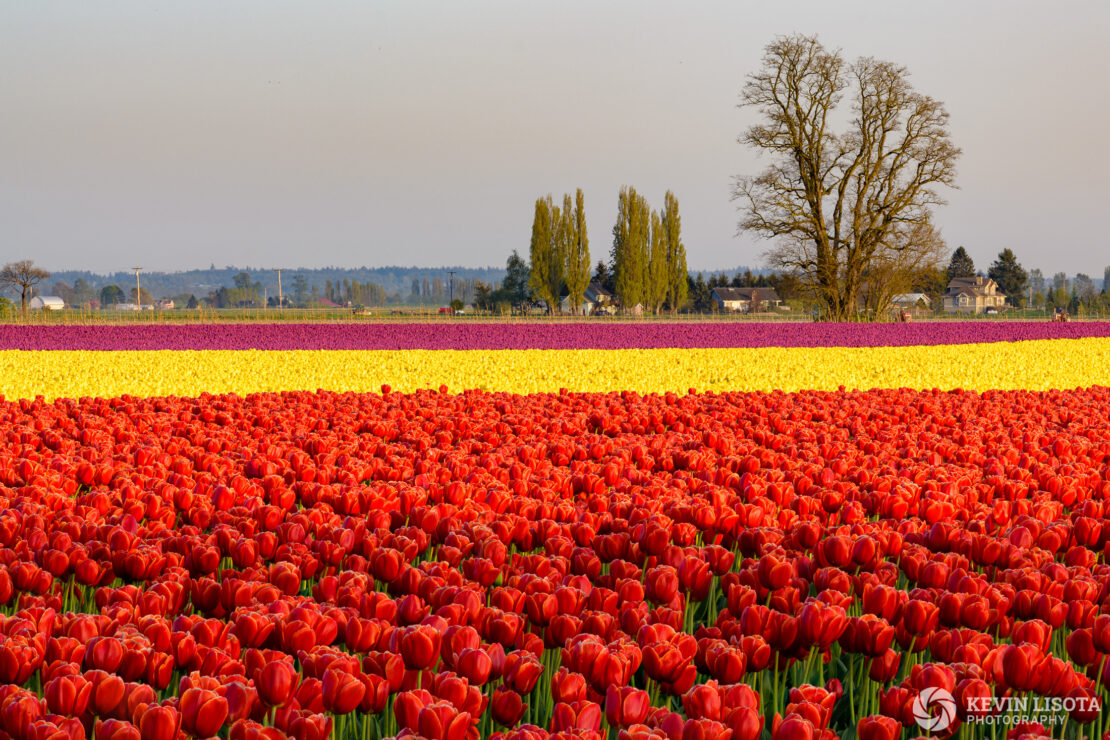
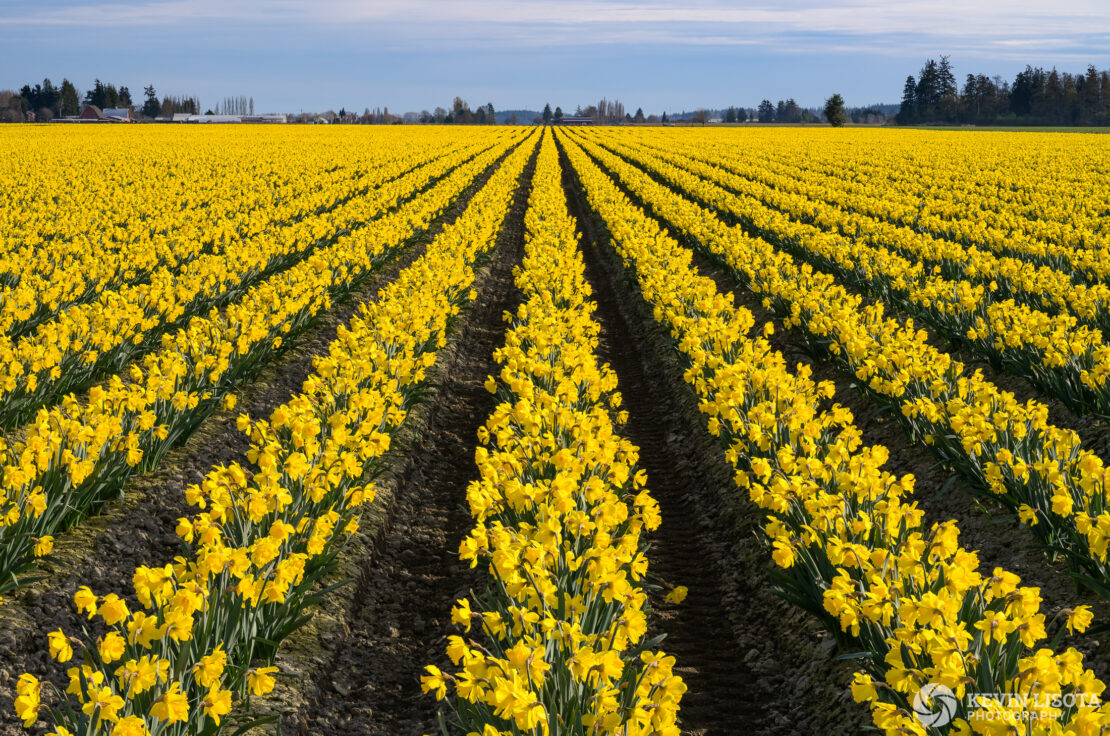
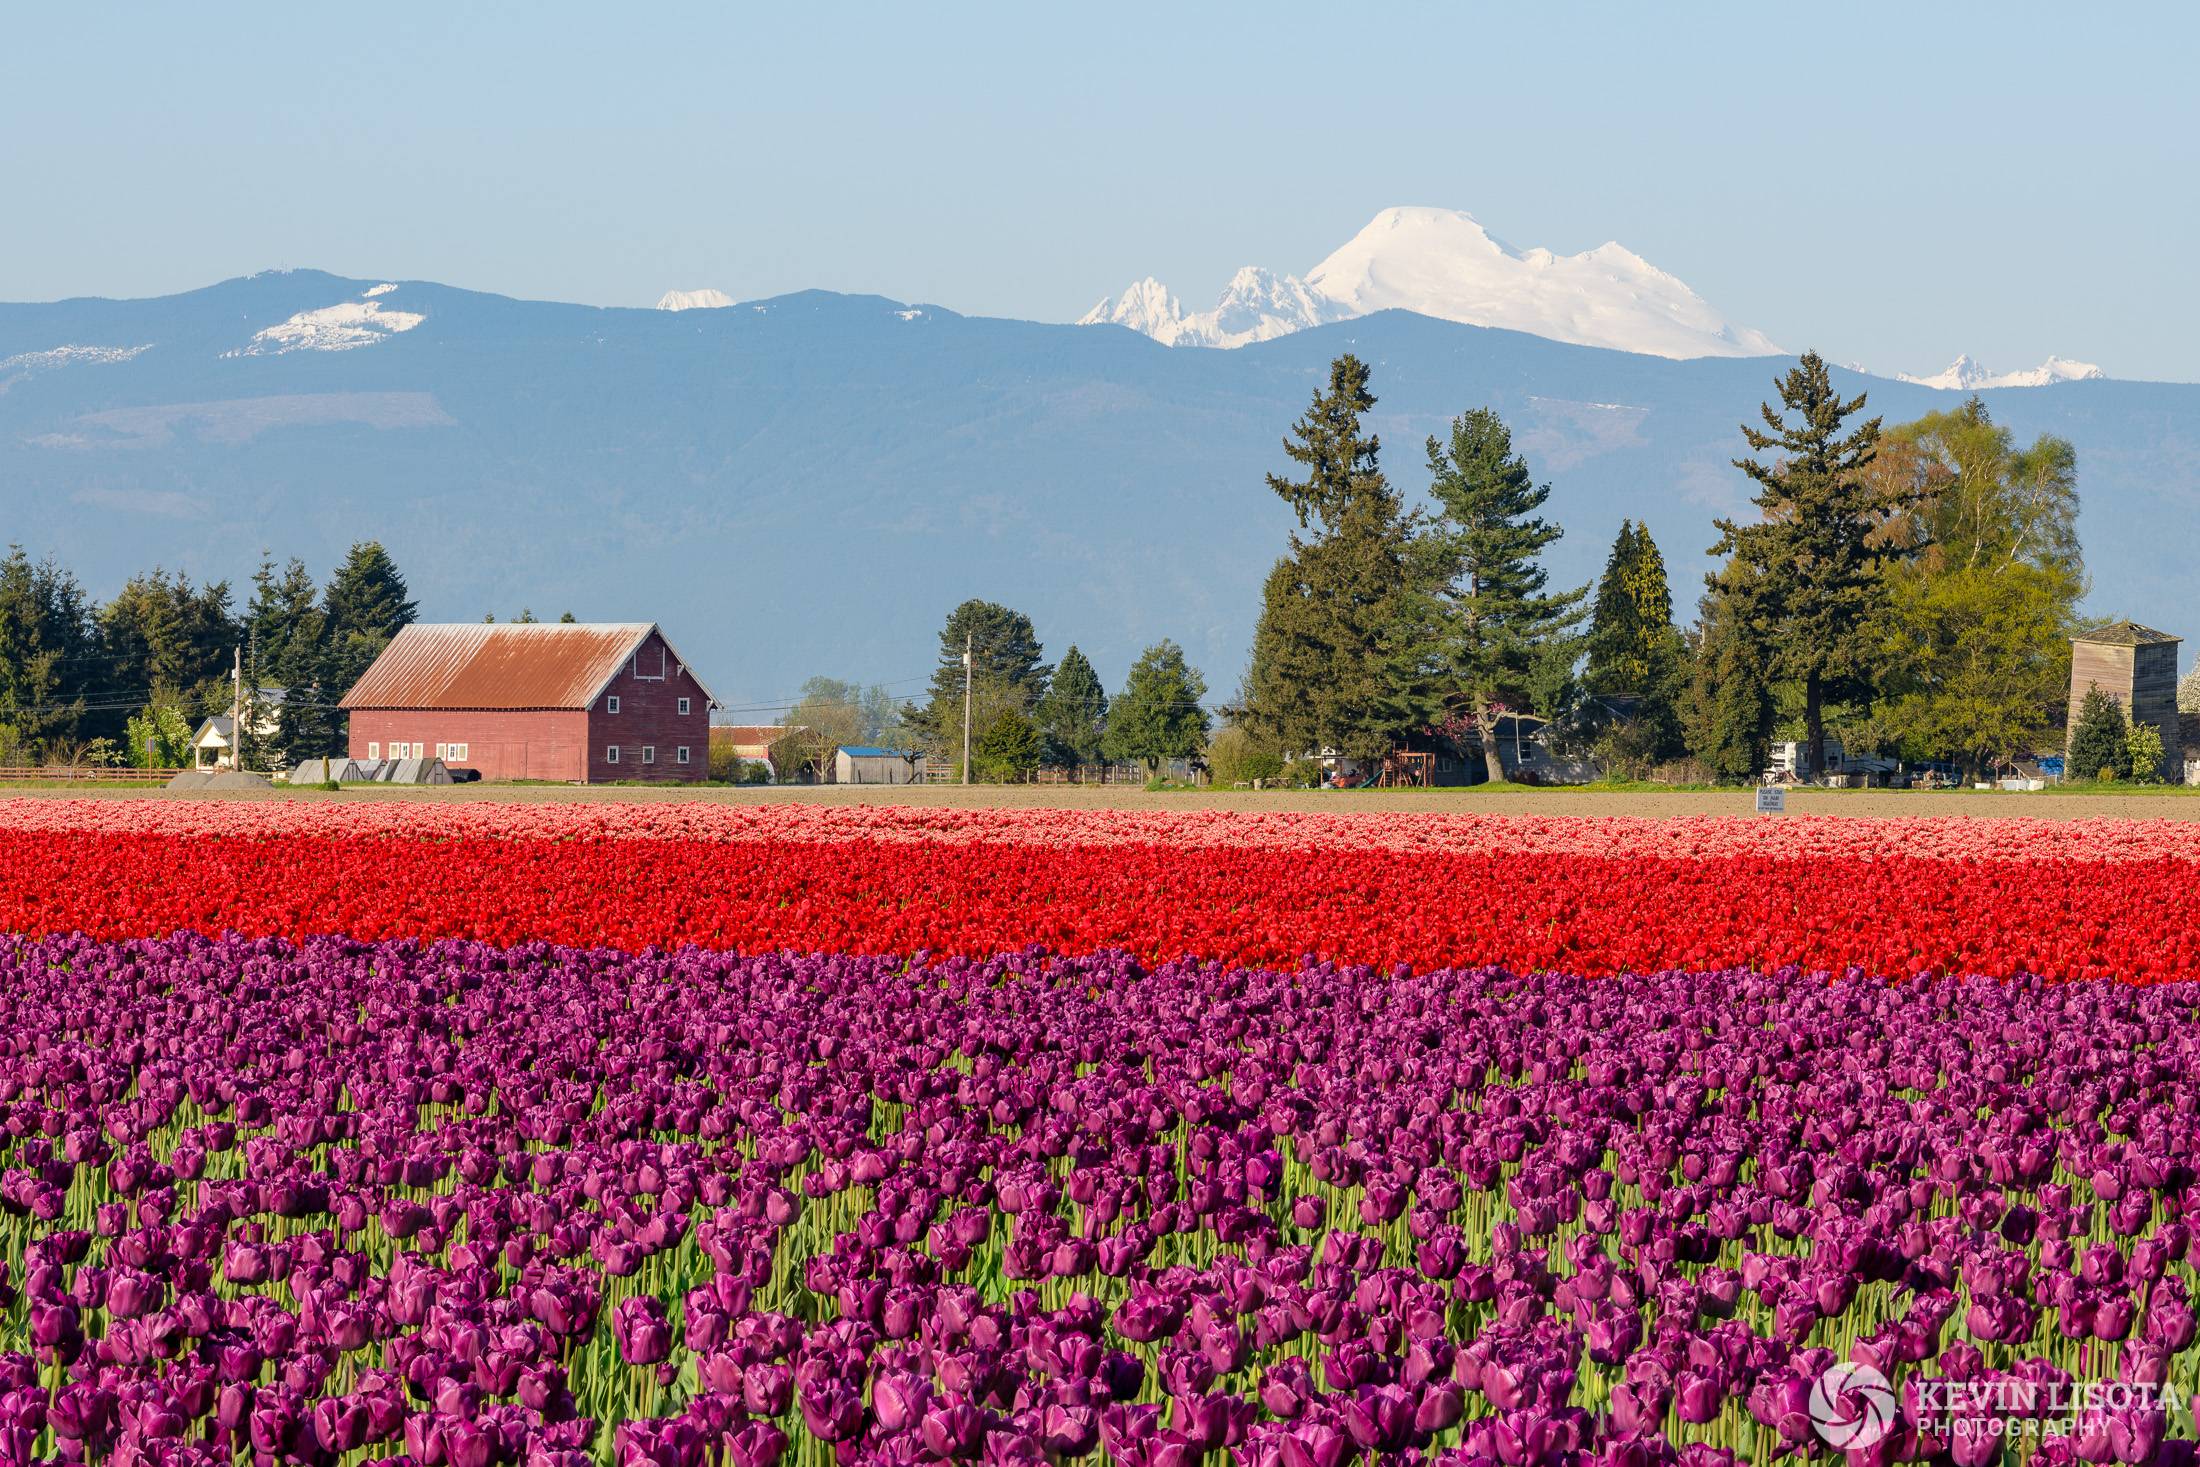
Here are some other focus-stacked images I took at the Skagit Valley Tulip Festival.
